
Sharing some data from a project
Sometimes you only want to share a small subset of the data in one of your projects with another user. You can share out smaller sets of samples from a project by creating a new project in IRIDA, copying some samples to it, then adding new members to that project.
You must have the role of Manager on the project to copy samples to another project.
Create a new project
You can create a new project by clicking on the “Projects” menu at the top of the dashboard and selecting “Your Projects”.

From the projects listing page click the “Create New Project” button:
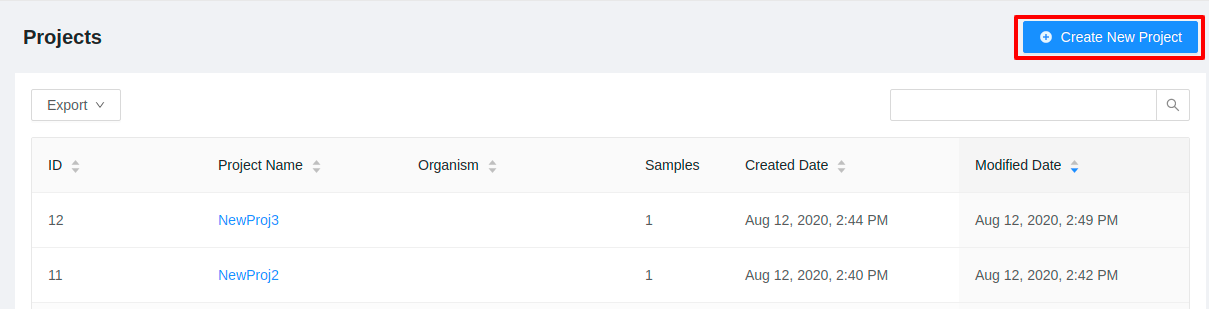
When you create a new project, you’ll need to provide a project name, and can optionally provide a project organism, a free-form project description, and a link to another website that has more information about the project:
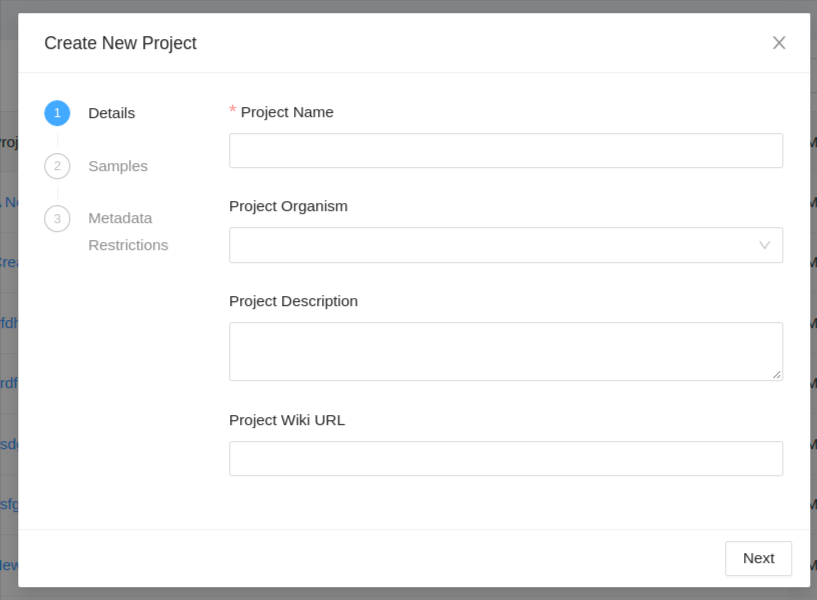
A project name must be at least 5 characters long, and must not contain any of the following characters: ? ( ) [ ] / \ = + < > : ; " , * ^ | &
If you choose to set a project organism, click on the “Select an Organism” drop-down menu and begin typing the name of the organism. For example, if you wanted to specify a project organism of “Salmonella enterica”, you would begin to type “Sal” and the menu would allow you to choose from a set of well-defined organism names:
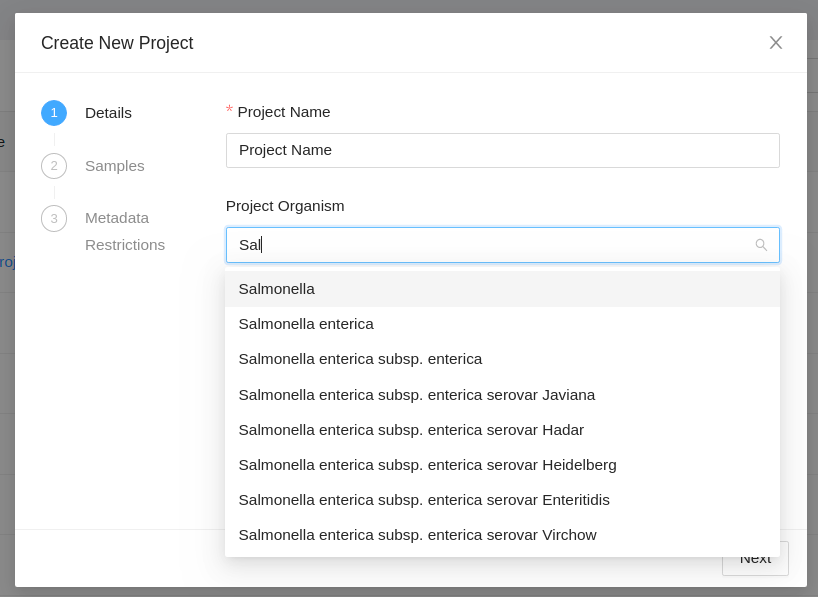
The organism names are derived from the NCBI taxonomy database.
Clicking the “Next” button allows you to select samples that have been added to your cart and add them to the project.
If there are no samples currently in the cart a message will be displayed:
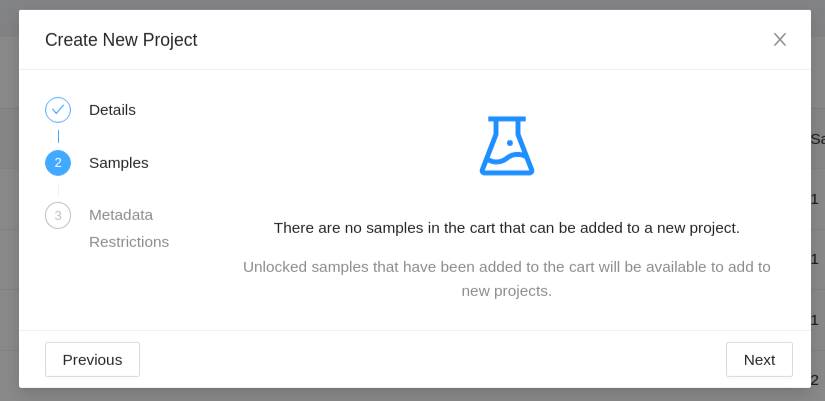
When samples are in the cart, only samples that you have full permissions on can be added to a new project.
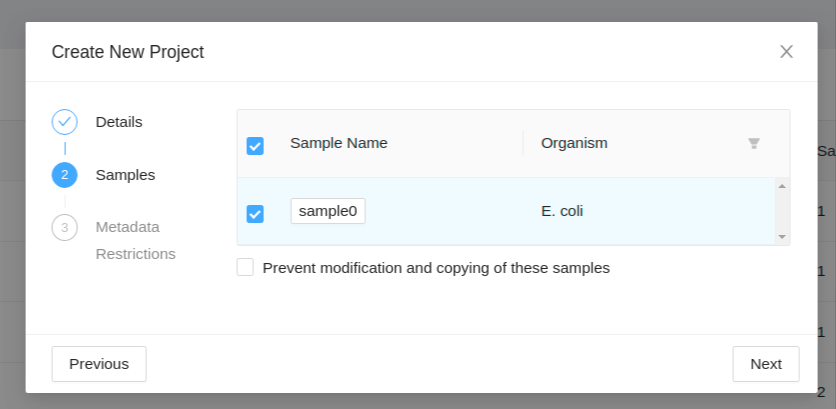
To prevent samples from being modified or copied within the new project, check the “Prevent modification and copying of these samples” box. This setting will only allow the sample owner to edit any sample data.
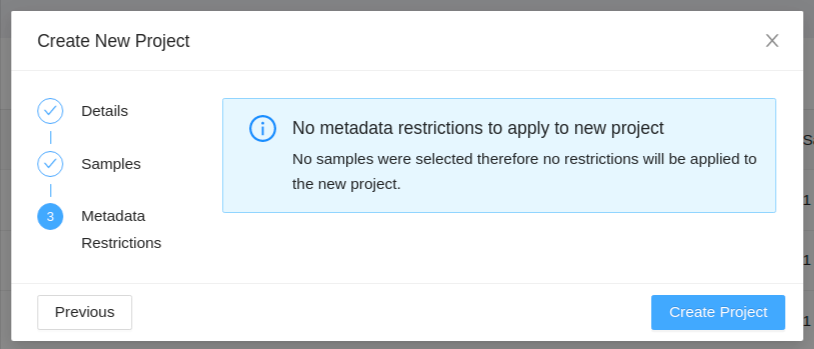
Clicking the “Next” button allows you to set metadata field restrictions that are available from the samples that are added from the cart. The Current Restriction is the metadata restriction on the field from the project that it was added from. The Target Restriction is the metadata restriction to apply to the field in the new project.

If there are no samples currently in the cart or if there are and they weren’t selected to be added to the new project then you should see the following message displayed:
Once you’ve finished entering the details, selecting any samples from the cart, and setting the metadata restrictions (if available) for your new project, click on the “Create Project” button. You will be redirected to the projects list.
IRIDA will automatically generate a numeric project identifier for your project. The project identifier is used by external tools for uploading sequencing data to IRIDA. The project identifier can be found in the “Project Details” panel, or in the projects list.
Once the new project is created return to the project that you would like to copy samples from.
Copy Samples
Sharing and Moving Samples
Sharing and moving samples has been completely re-designed for the January 2022 release of IRIDA in an effort to allow faster sharing or moving greater number of samples. It is important to remember that you must be a manager on both the current project and the project you are trying to share or move samples to.
Samples can be selected on either the project samples page or the linelist page:
- Project Samples Page: Click the “Sample Tools” dropdown and select “Share / Move Samples”.
- Linelist Page: click the “Share Samples” button.

Once selected, you will be redirected to the new Share / Move Samples page.

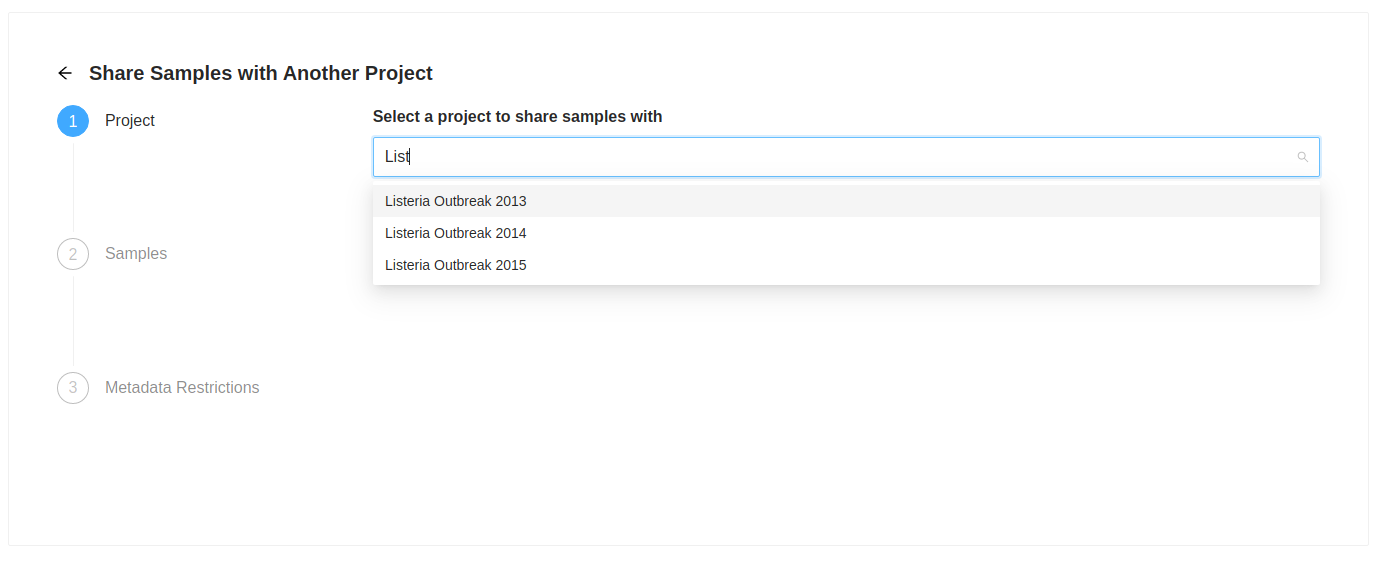
Destination Project Selection
The first action is to select the destination project. Start typing the name of the destination project in the “Select a project to share samples with” input. As you type a list of projects will be presented, select the project you want. Once you select a project to share with, the “Next” button will become enabled, clicking on it will allow you to review the samples that were selected to copy. the samples that were selected to copy.
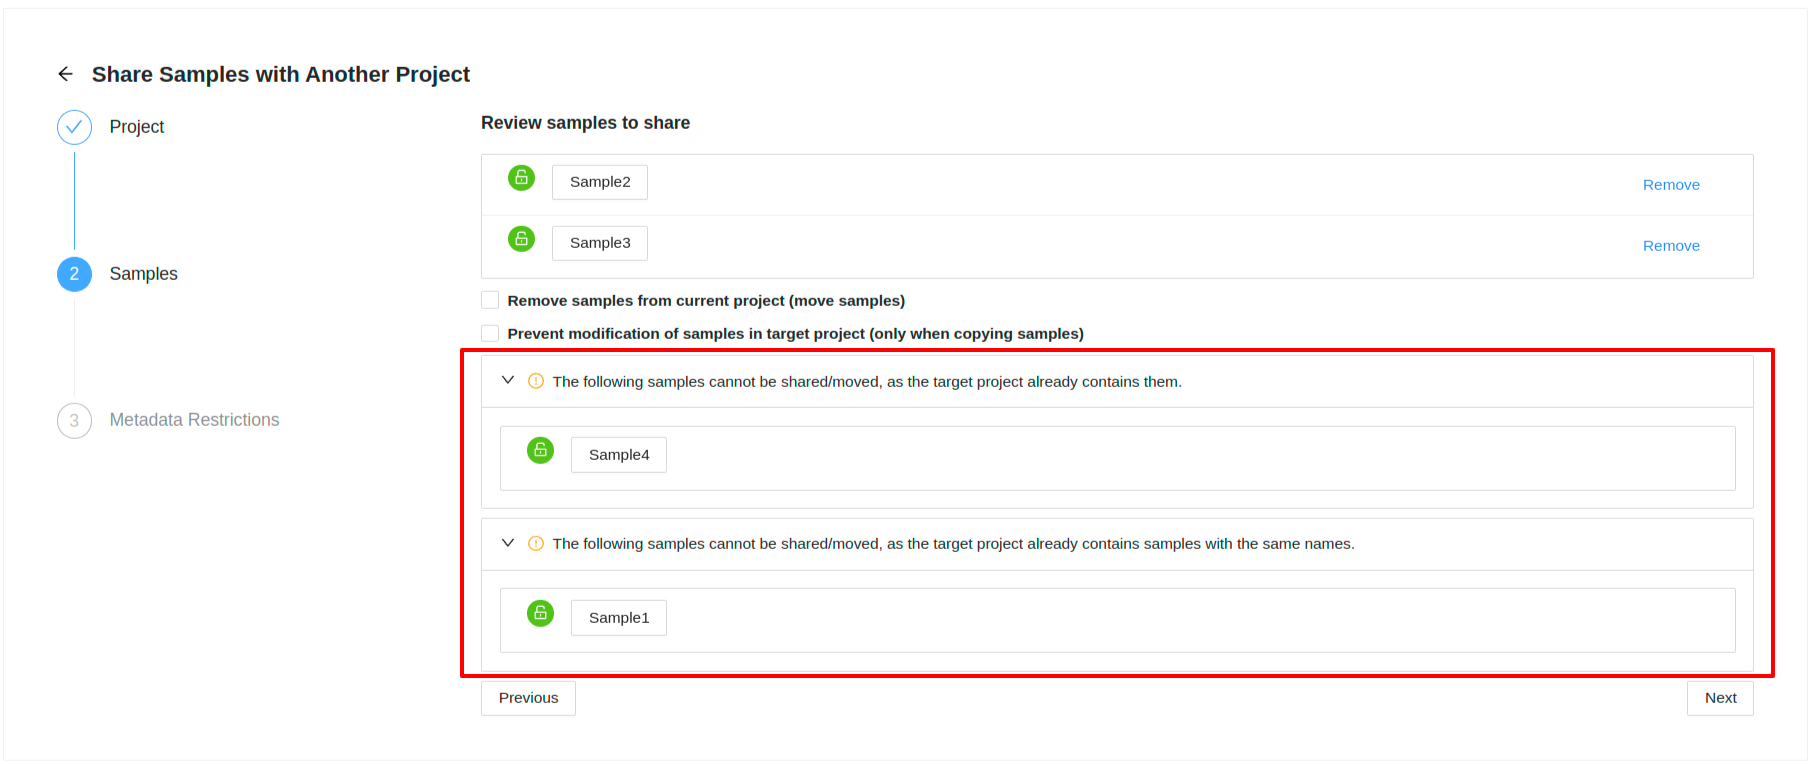
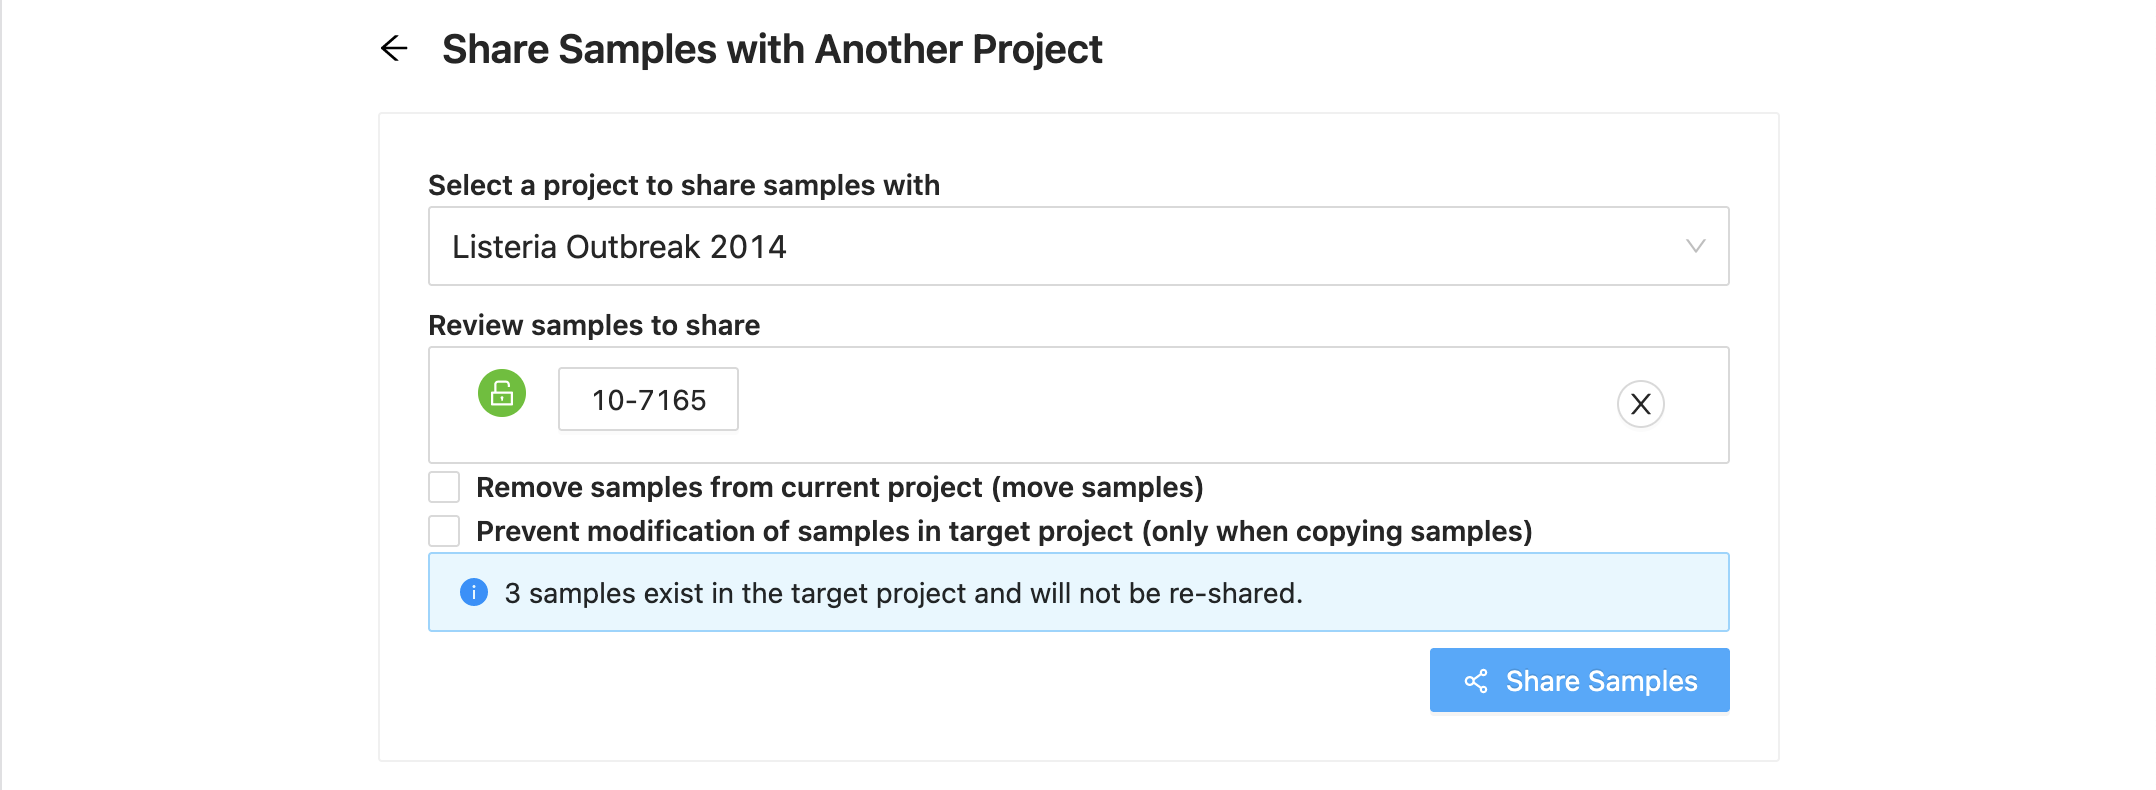
Sample Review
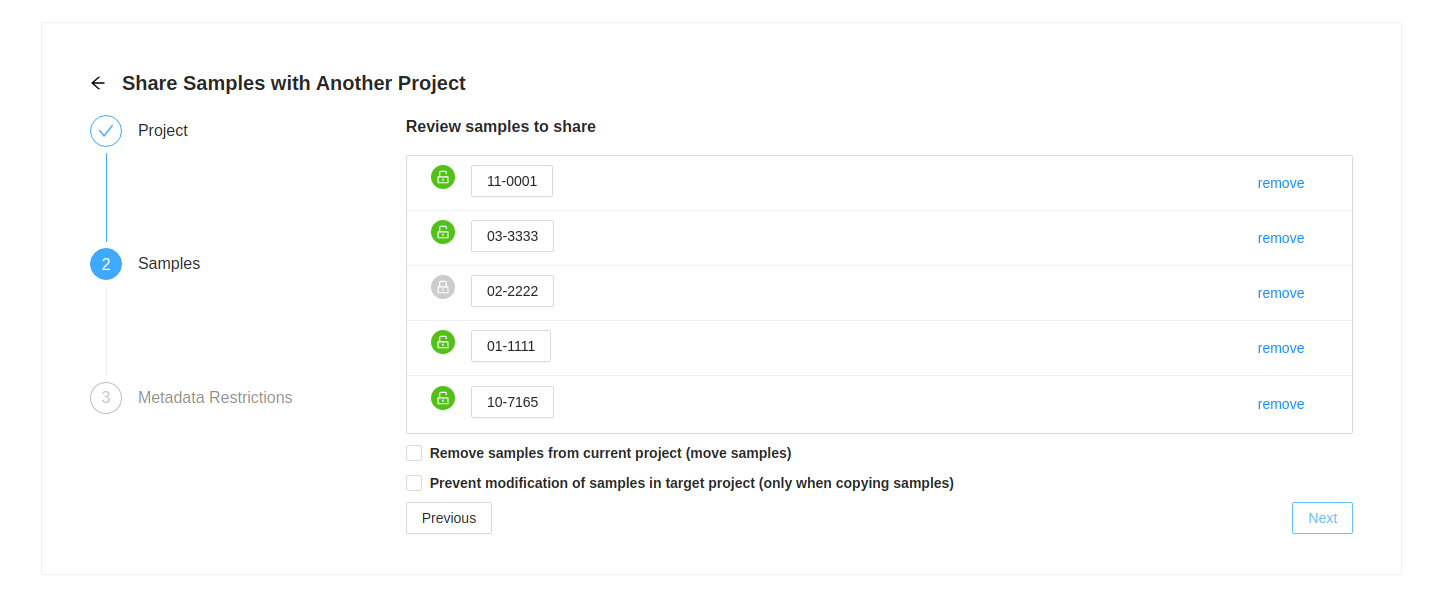
Next you will see the list of samples that were selected. If you decide you do not want one of them, just click on the ( remove) at the end of the row.
If a sample has a locked symbol, it means that the sample is locked from modification in the current project and will not be modifiable in the destination project.

If the destination project already has the same samples (sample ids and/or sample names) in it that are being shared from the source project, then you will see expandable warnings with these samples listed
Moving Samples
If you want to move samples, which means they will be in the destination project, but removed from the current project, then select the checkbox “Remove samples from current project (move samples)”

Locking Samples (ONLY FOR SHARING NOT MOVING)
If you are sharing samples and you do not want them to be modifiable in the destination project, select the checkbox “ Prevent modification of samples in target project (only when copying samples)”

NOTE: Both checkboxes cannot be selected at the same time.
Metadata Restrictions
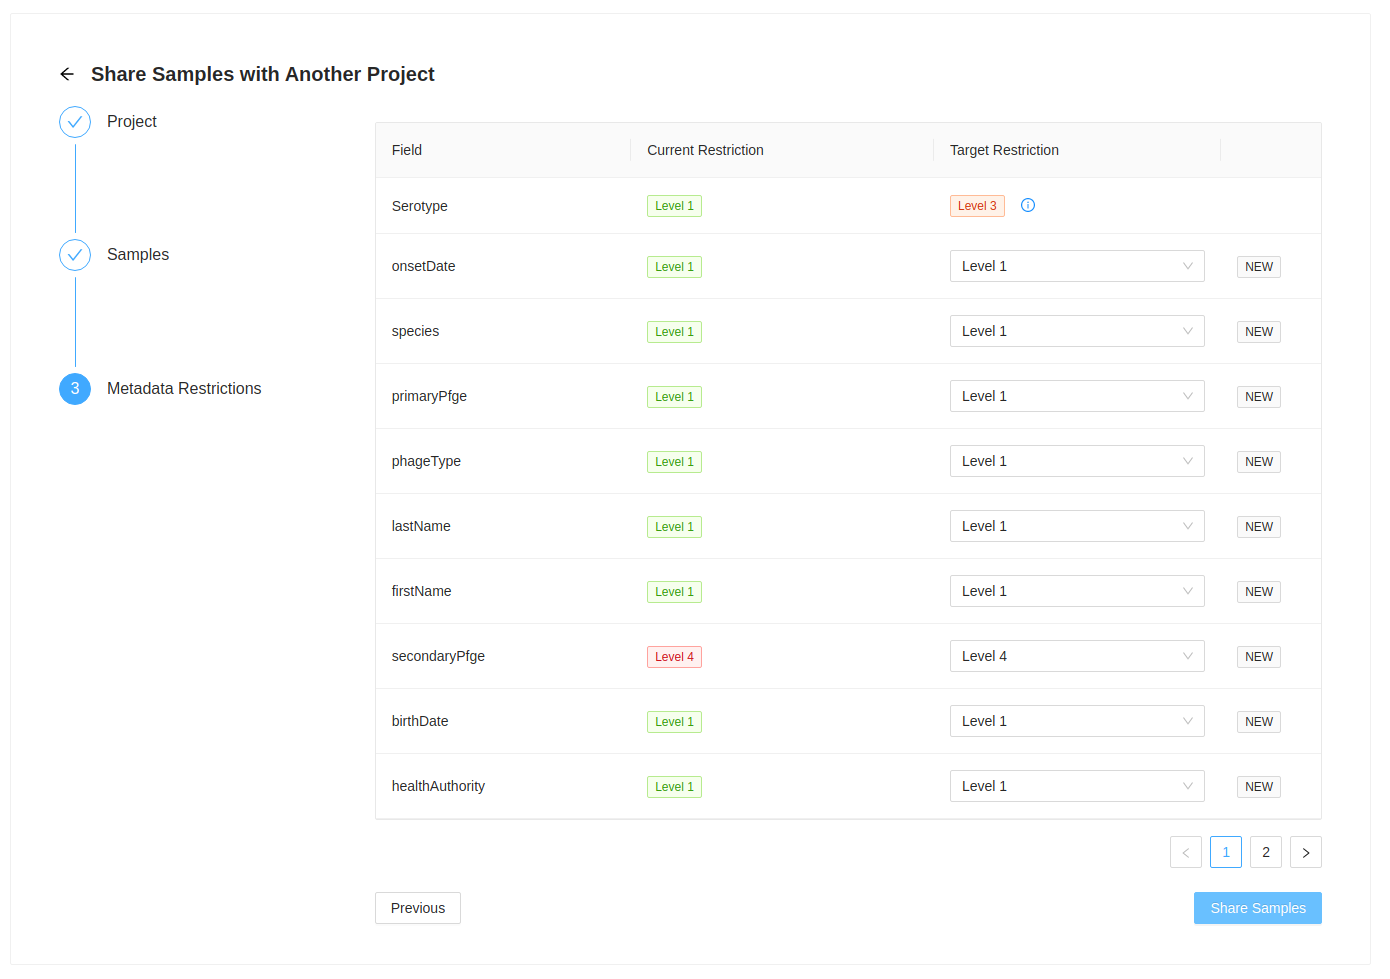
Samples are shared/moved with all their corresponding metadata. This step allows you to review the fields that are included with the sample as well as review the metadata restriction level that will used on the destination project.
If the metadata field does not exist in it will be set to the current metadata restriction level in the current project.

In this example, metadata field secondaryPfge has a restriction level of Level 4, the highest level, and birthDate
has a restriction level of Level 1, the lowest level. They both do not exist in the target project, so they are
initially set to that value. You can always set different levels in the destination project, but please ensure that
you mean to do this. All restriction levels can be updated in the project > settings > metadata panel.
If the metadata field exists in the destination project, then the restriction level is set to the destination project level and cannot be updated. This can be updated for all samples in that project in the project > settings > metadata panel.

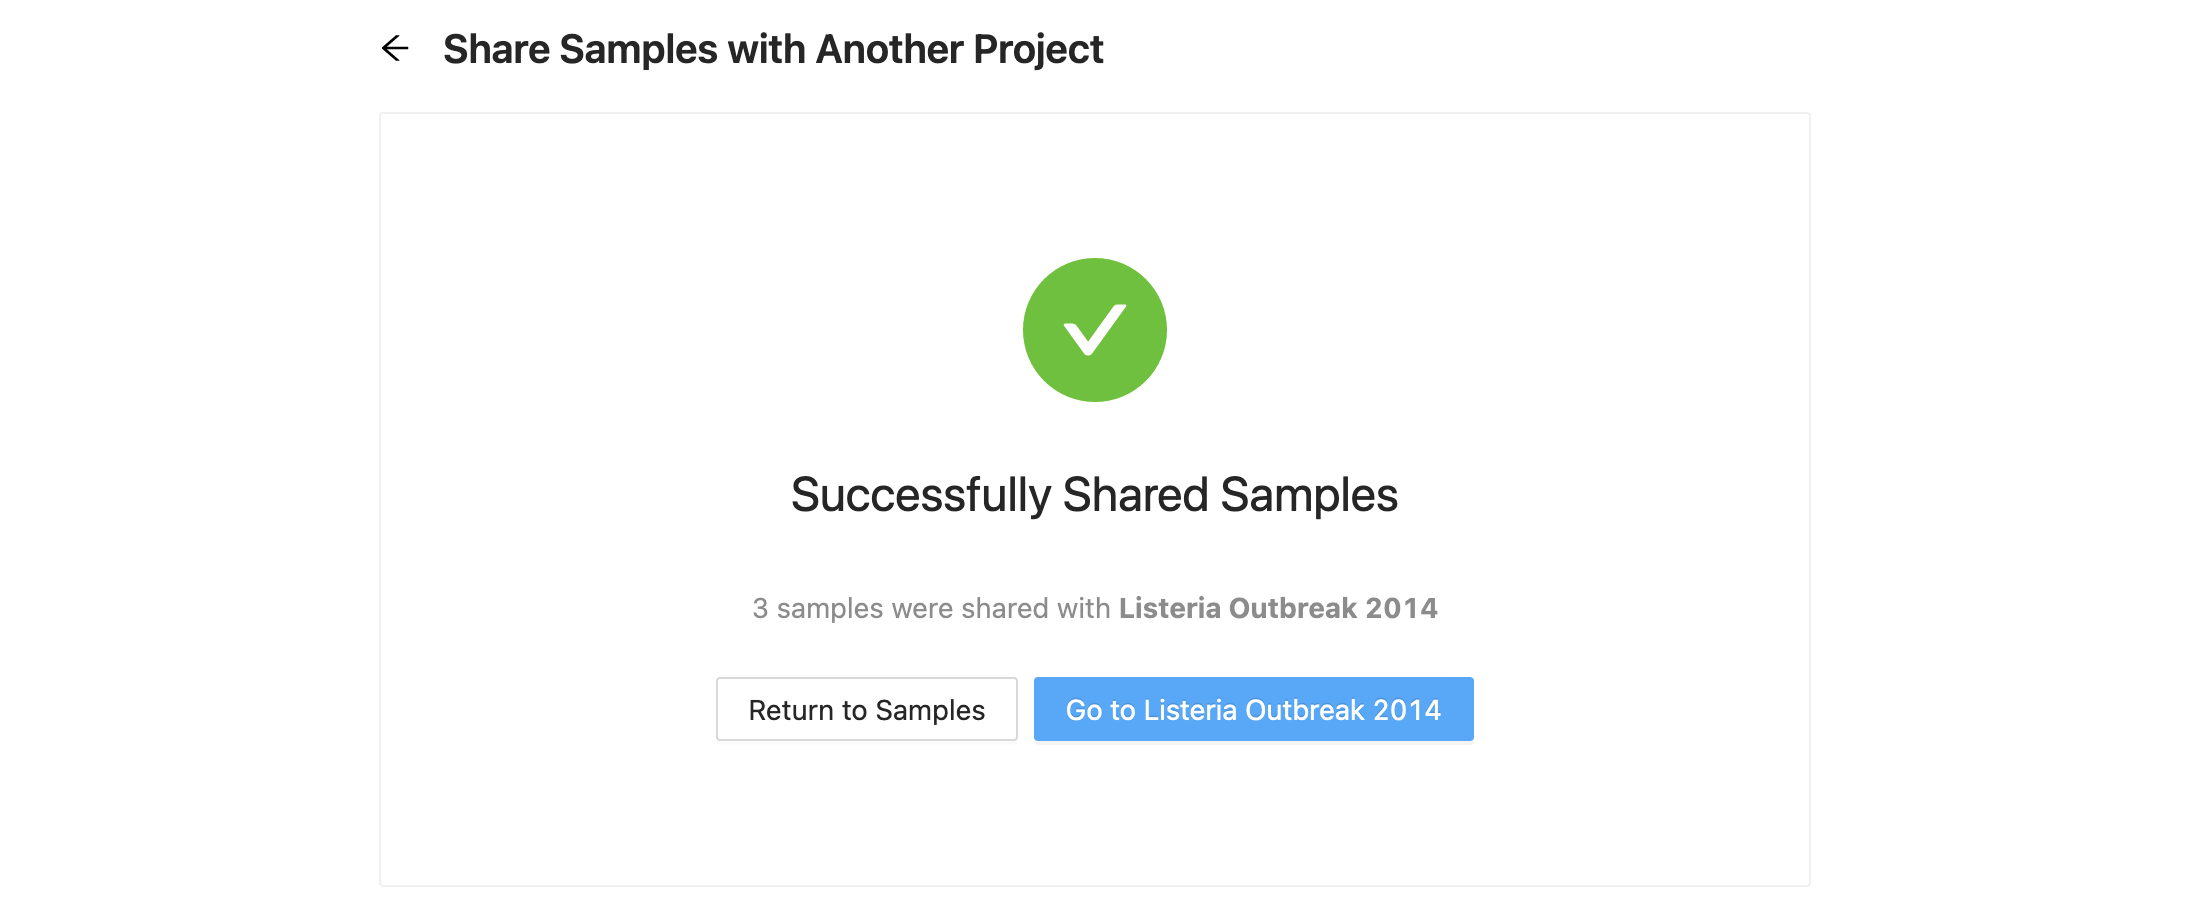
Sharing
Once you are ready to copy / move the samples, click the “Share Samples” button at the bottom of the form. Once complete, a message stating that the share or move was successful. From here, you can select to either go back to the samples page, or continue to the destination project.
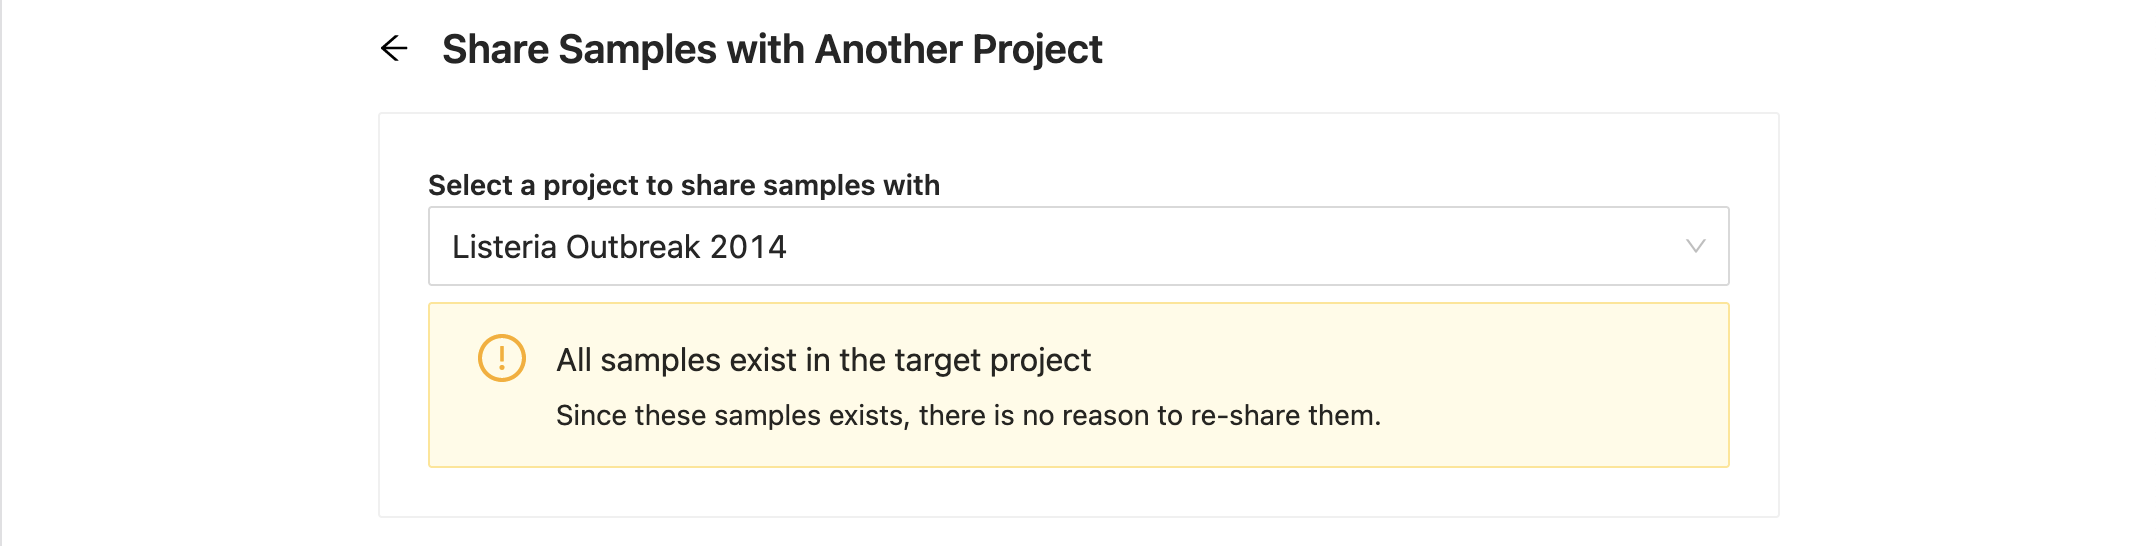
Warnings
Destination project already has the samples
If the destination project already has all of the samples you are trying to copy, you will be shown a message stating this without the possibility to share again. You can still select another project at this point and continue.
If the destination project already has some of the samples you are trying to copy, you will be shown a message saying how many samples cannot be copied. The list of samples will only display the samples that can be copied. You can proceed to copy the available samples.
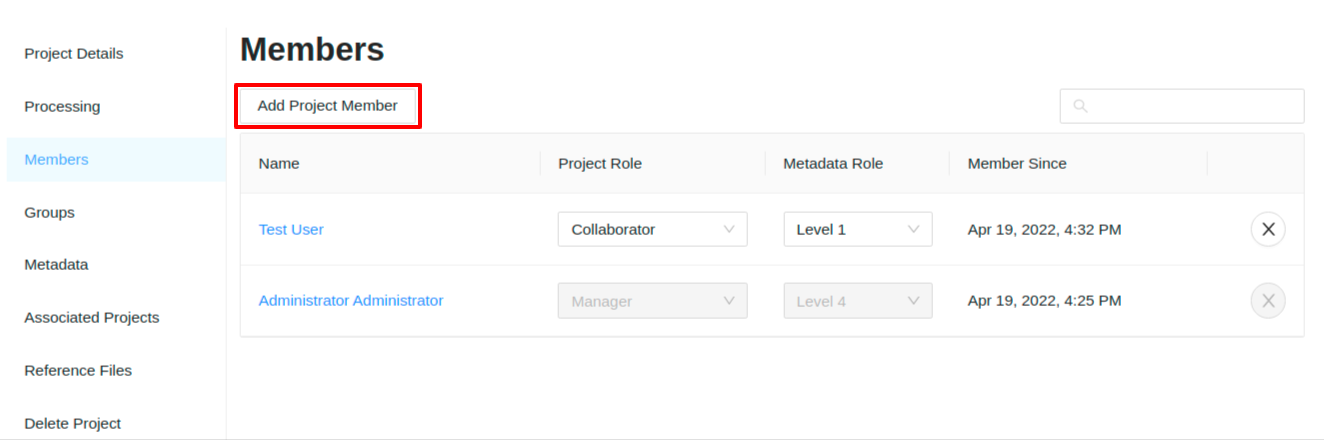
Adding a Project Member
Once the samples are copied over to the new project, the last step is to add all users to this project that need access to this data.

To add an individual project member, click on the “Add Member” button:
You can use the dialog that appears to select a user account. You can also select the Project Role and Metadata Role that the new member should have. If the Project Role is set to Manager then the Metadata Role will default to the highest level (Level 4):
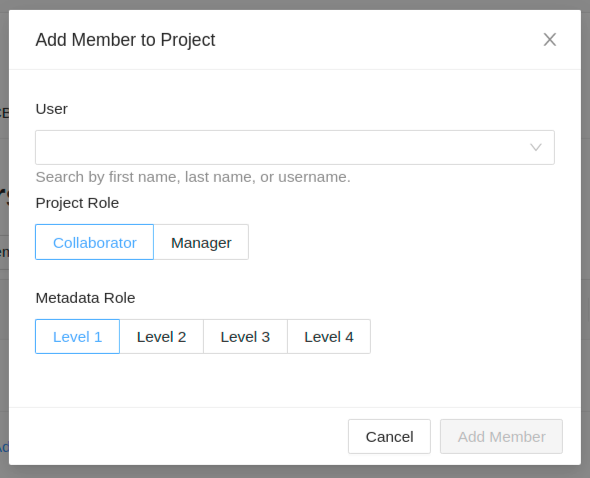
Remember: a project collaborator has read-only permissions, and a project manager is allowed to modify project details.
Once you’ve selected the user and role to add to the project, click on the “OK” button.