Uploading with the Web Interface
This is a quick tutorial on how to upload data to IRIDA using the web interface. You should only upload data to IRIDA from the web interface if you are uploading sequencing data for a very small number of samples – uploading large amounts of data (especially if you’re a sequencing facility) should be done using the [IRIDA Uploader][https://github.com/phac-nml/irida-uploader].
You should start from the beginning of this tutorial if you have not yet created a project, or your project does not have any samples. You can skip ahead to other sections if you’ve already got a project with samples added.
Creating a new Project
You can create a new project by clicking on the “Projects” menu at the top of the dashboard and selecting “Your Projects”.

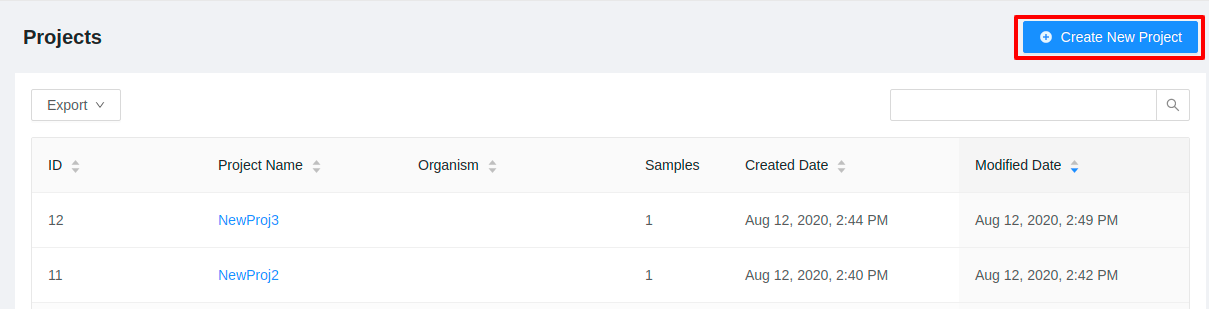
From the projects listing page click the “Create New Project” button:
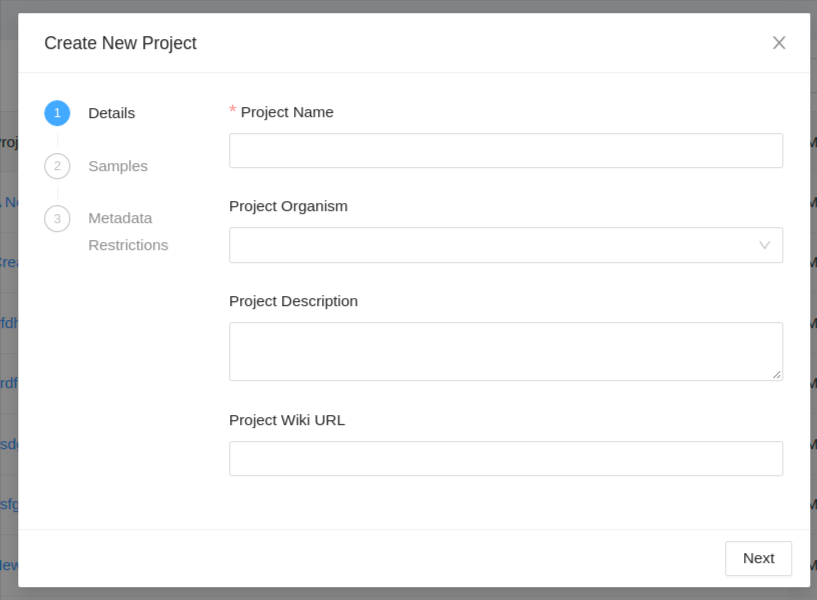
When you create a new project, you’ll need to provide a project name, and can optionally provide a project organism, a free-form project description, and a link to another website that has more information about the project:
A project name must be at least 5 characters long, and must not contain any of the following characters: ? ( ) [ ] / \ = + < > : ; " , * ^ | &
If you choose to set a project organism, click on the “Select an Organism” drop-down menu and begin typing the name of the organism. For example, if you wanted to specify a project organism of “Salmonella enterica”, you would begin to type “Sal” and the menu would allow you to choose from a set of well-defined organism names:
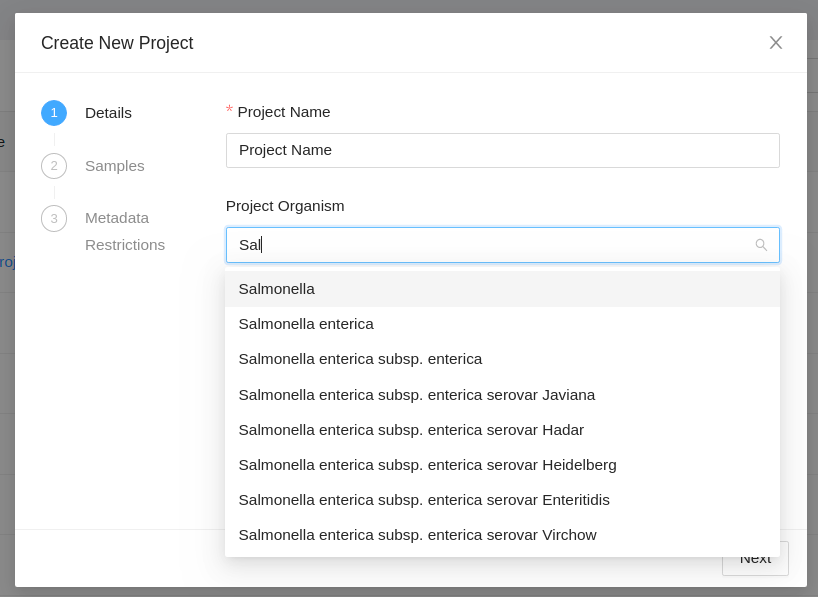
The organism names are derived from the NCBI taxonomy database.
Clicking the “Next” button allows you to select samples that have been added to your cart and add them to the project.
If there are no samples currently in the cart a message will be displayed:
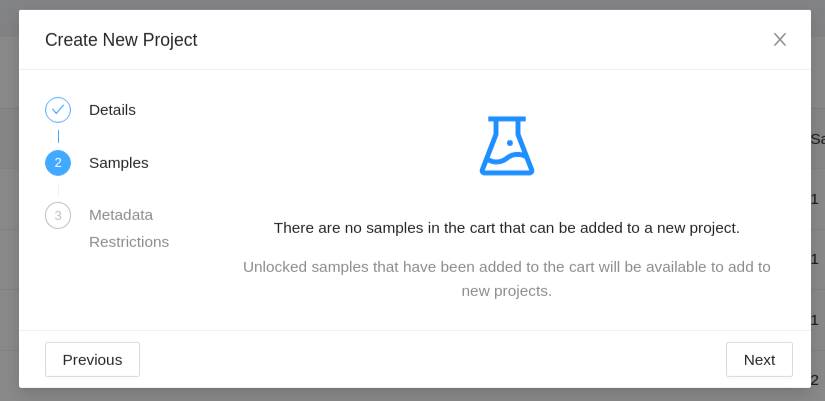
When samples are in the cart, only samples that you have full permissions on can be added to a new project.
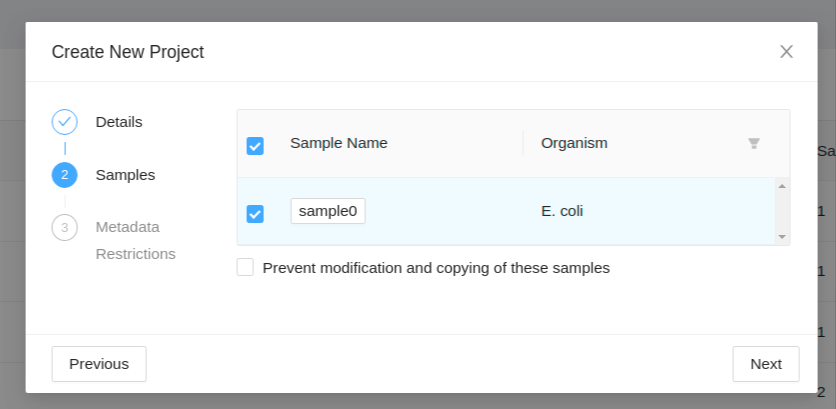
To prevent samples from being modified or copied within the new project, check the “Prevent modification and copying of these samples” box. This setting will only allow the sample owner to edit any sample data.
Clicking the “Next” button allows you to set metadata field restrictions that are available from the samples that are added from the cart. The Current Restriction is the metadata restriction on the field from the project that it was added from. The Target Restriction is the metadata restriction to apply to the field in the new project.

If there are no samples currently in the cart or if there are and they weren’t selected to be added to the new project then you should see the following message displayed:
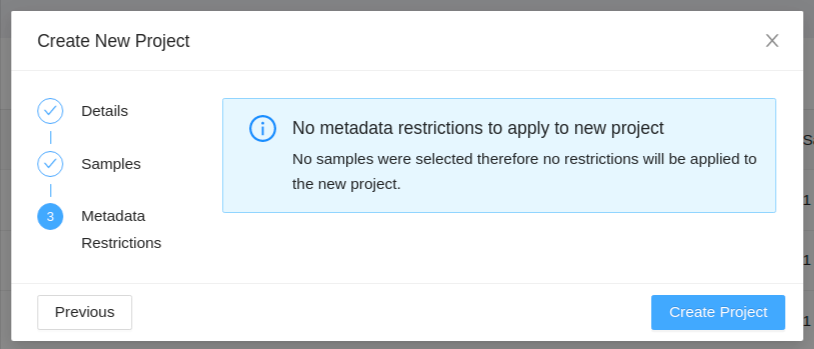
Once you’ve finished entering the details, selecting any samples from the cart, and setting the metadata restrictions (if available) for your new project, click on the “Create Project” button. You will be redirected to the projects list.
IRIDA will automatically generate a numeric project identifier for your project. The project identifier is used by external tools for uploading sequencing data to IRIDA. The project identifier can be found in the “Project Details” panel, or in the projects list.
Creating a Sample in your Project
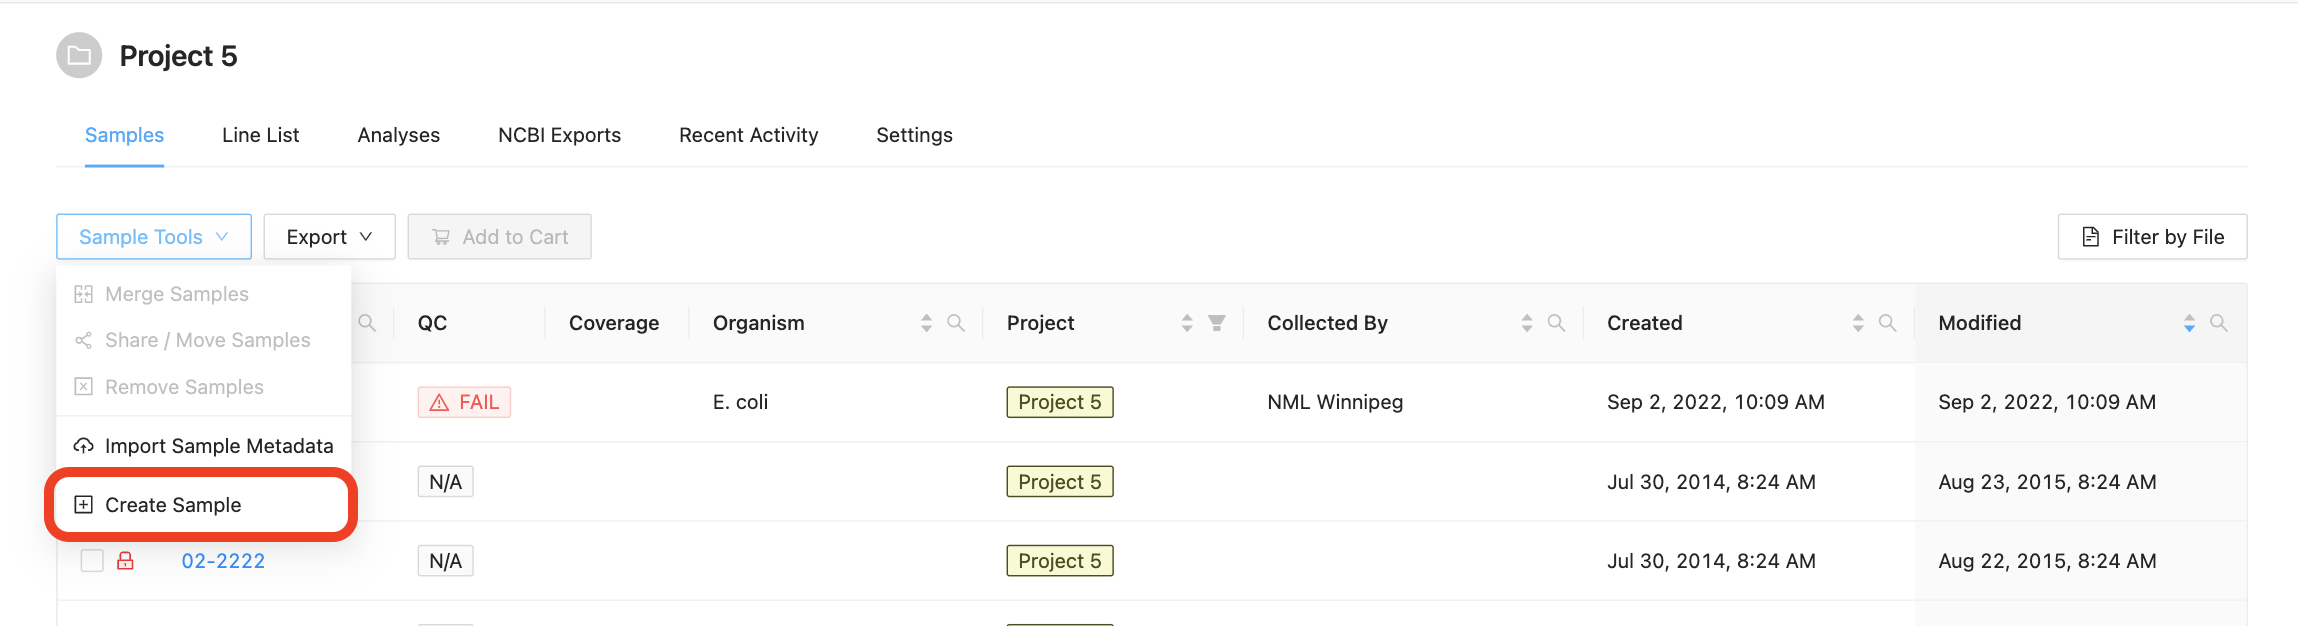
You can add a new sample to the project if you have the project Manager role on the project. To add a new sample to the project, click on the “Add New Sample” button in the “Samples” menu:
Clicking this button will open the Create New Sample modal dialog. When creating a sample, you must define the sample name (only upper and lowercase letters, numbers, and the special characters !, @, #, $, %, _, -, and ` are allowed) and optionally choose an organism for the sample:
When you’ve finished choosing the name and organism for the sample, click on the “Create Sample” button.
Uploading data to your Sample
Sequence Files & Assemblies
Sequence files can be uploaded by either dragging and dropping the files into the upload section, or by clicking the section and selecting the files. Sequence, fast5, and assembly files can be uploaded at the same time.
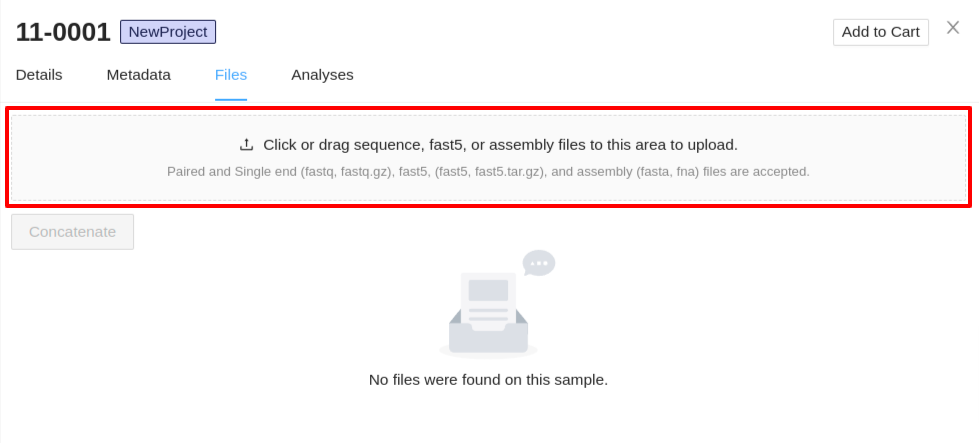
- Upload Sequence Files - Files must have the extension
.fastqor.fastq.gz, all other formats will be ignored. You can select single or multiple files in the system file selection window. If you are uploading paired end data, ensure they are selected in the same upload. -
Upload Fast5 Files - Files must have the extension
.fast5or.fast5.tar.gz. - Upload Assembly - Assembly files must have the extension
.fastaor.fna.
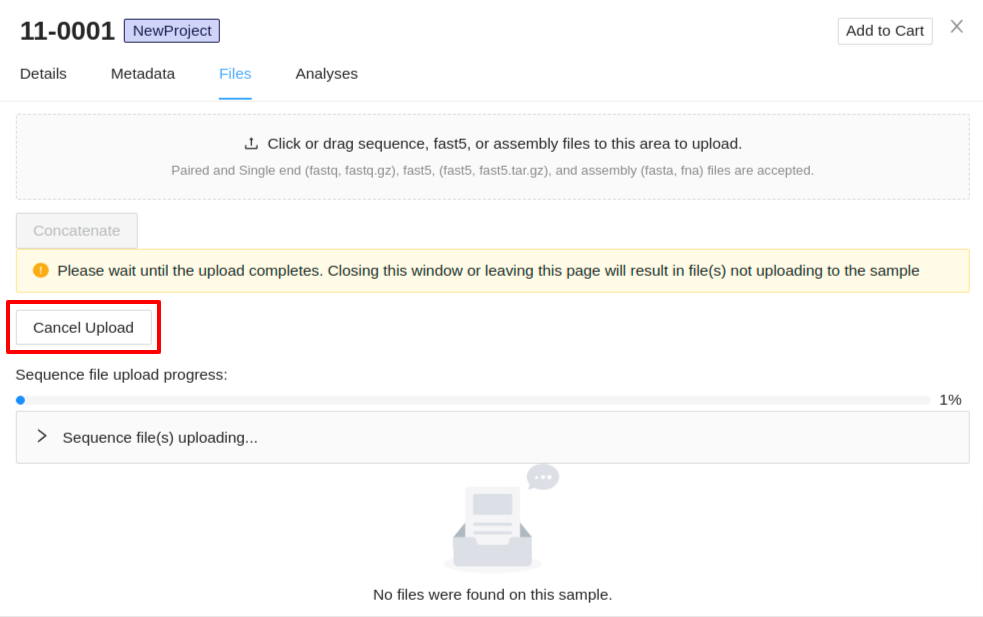
Uploading of files will begin immediately. A progress bar for each of the file types (sequence, assembly, and fast5 files) will be displayed with the status of the upload. Also, expandable panels for each of the file types will be displayed below each progress bar which can be expanded to show the files that are uploading. If you need to cancel an upload click the Cancel Upload button. Do not close the sample details viewer or refresh the page as this will cancel the upload.