
Managing User Groups
User accounts can be organized into a collection called a user group. User groups can be used to assign project permissions to collections of user accounts. This section of the user guide descibes how you can view projects, edit project metadata (including uploading reference files), search for projects by name, and create new projects.
- Viewing existing user groups
- Creating a new User Group
- Viewing user group details
- Editing user group details
- User group members
Viewing existing user groups
You can access the list of user groups that have already been created by clicking on the “Settings” menu at the top of the dashboard and selecting “Groups”:

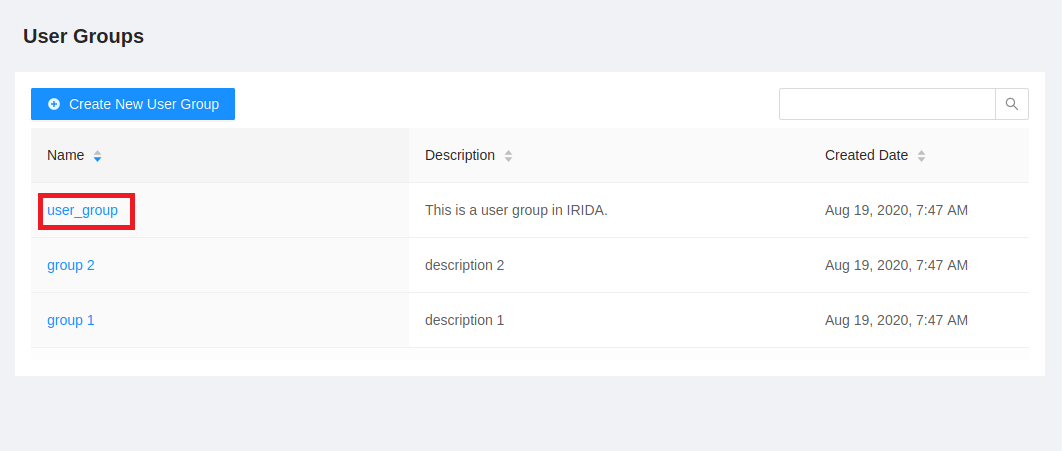
The user groups list shows all user groups in IRIDA:
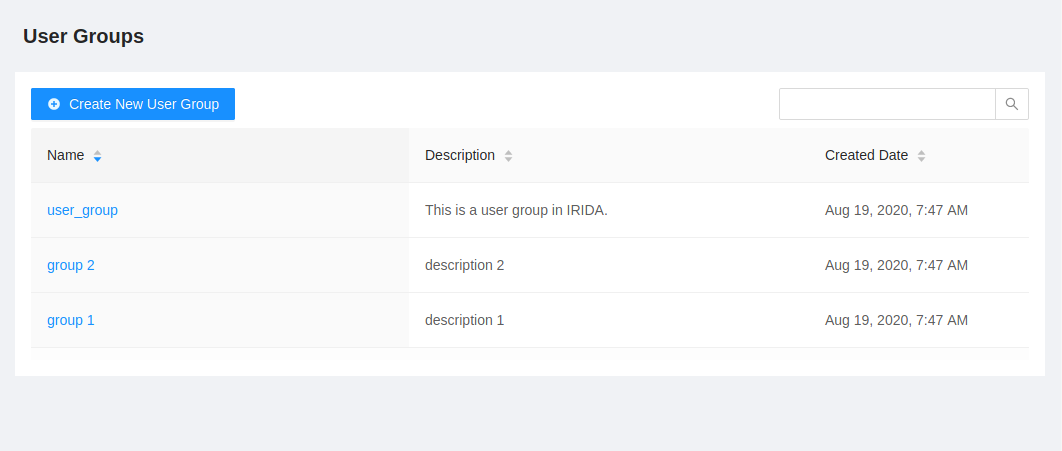
The projects list provides a high-level overview of project details, including:
- The name of the group,
- The group description,
- The date that the group was created,
- The date that the group was last modified, and
- (if you are permitted) group deletion buttons.
Creating a new User Group
All users are permitted to create user groups in IRIDA.
To create a user group, start from the user groups list page and click on the “Create New User Group” button:
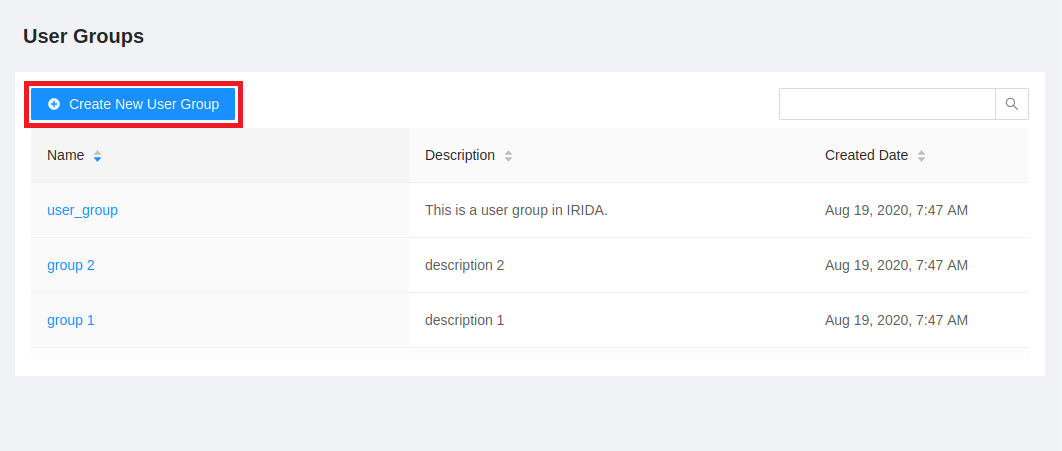
This will open a modal window which will allow you to fill in the group details fields. Only the group name is required, but you can optionally provide a more detailed description of what the user group is:
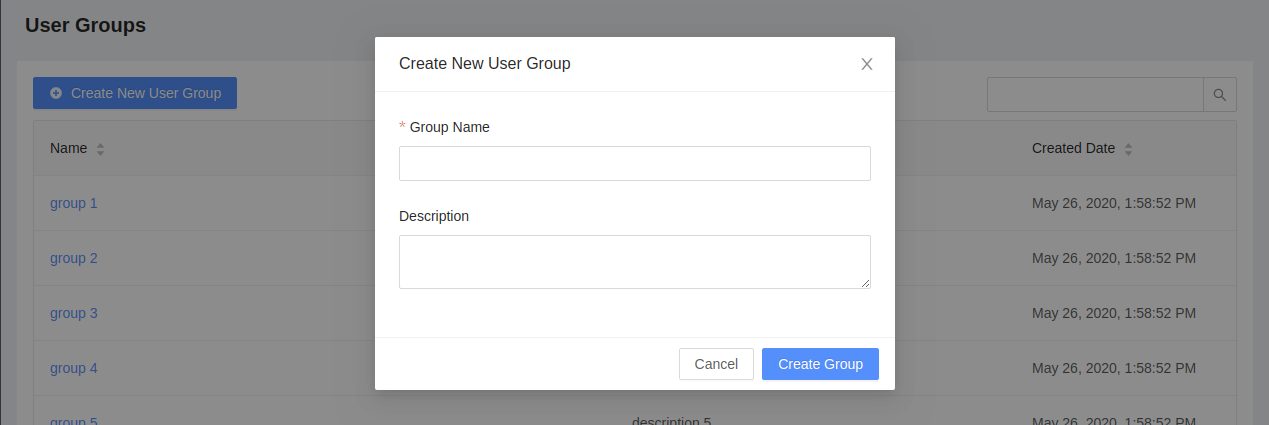
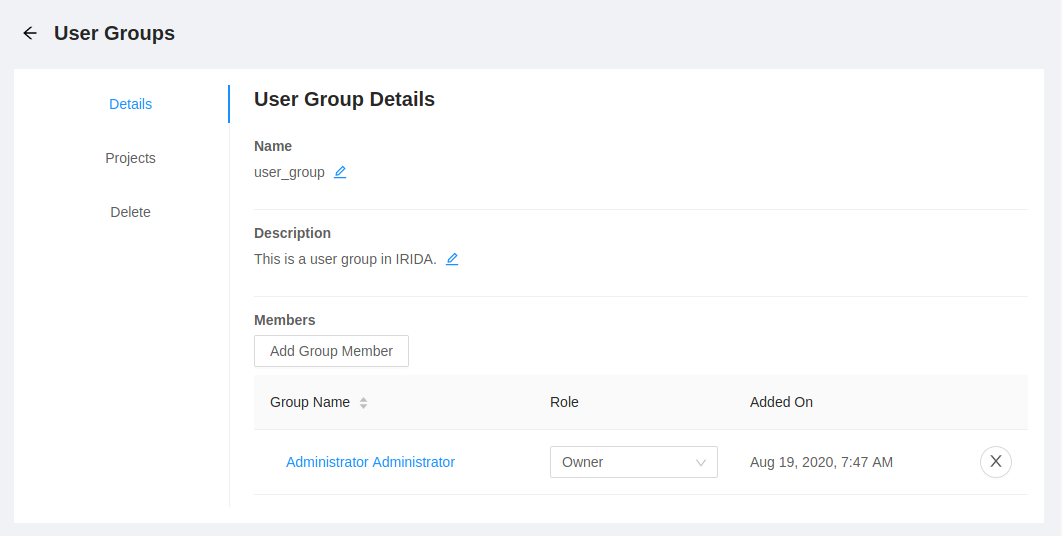
On successfully creating a new user group, you will see the user group details that you entered:
By default, your user account is assigned to the group as the group owner.
Viewing user group details
To view user group details, start from the user groups list and click on the Name of the user group:
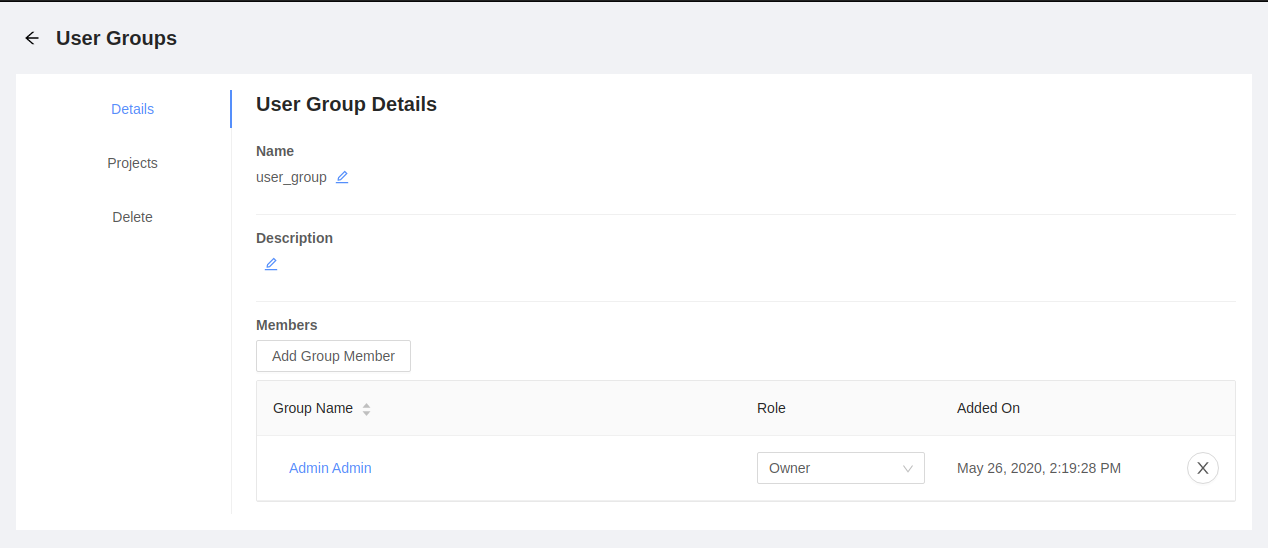
The user group details page shows a summary of the user group details and provides a view of the user accounts that have membership in the group:
Editing user group details
If you are a group owner, you can edit the details of a user group. To edit user group details, start by viewing the user group details, then click on the pencil icon beside the field you wish to edit:

When you’ve finished editing the user group field, you may click out of the input box or press enter, and it will save right away.
User group members
All users in IRIDA can see all user groups. A user can have one of two different roles in a user group: a group member (used only for project membership permissions) and a group owner (used for project membership permissions and group editing permissions).
Adding a project member
If you are a group owner, you can add new members to the group.
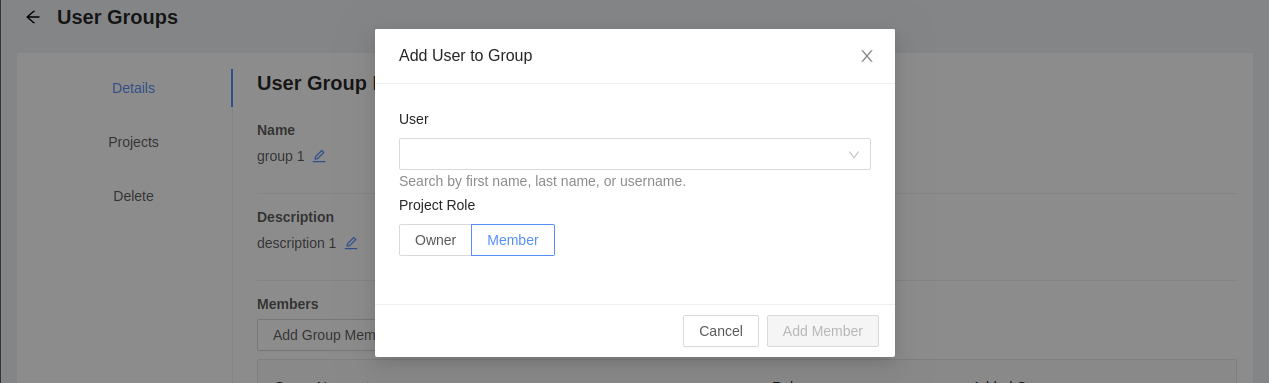
You can add other users to the group by clicking on the “Add Group Member” button:

In the dialog that appears, choose the user that you want to add and the group role that the user should have. Group owners are allowed to add new members to the group. Group members are not allowed to add new members to the group.
Changing a user group member role
You may want to change a user group member role if you wish to remove permissions for an individual user account to modify user group details, but still want to allow that user account to view the project data that the user group is assigned to. You can only change a user group member role if you have the group owner role on the user group.
Start by viewing the user group details.
To change the role of a project member, click on the drop-down menu in the “Role” column on the table for the user you would like to change:
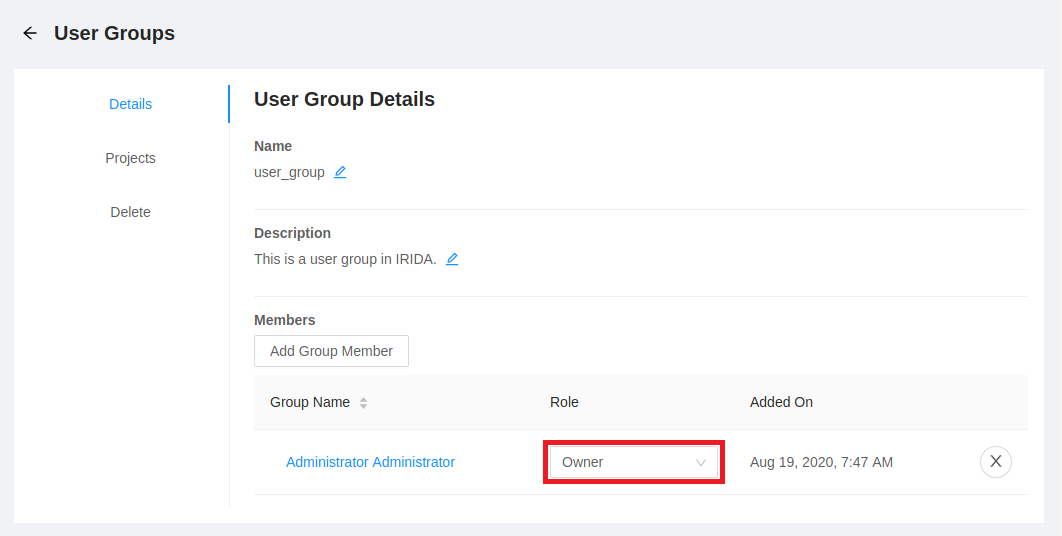
The user group role is saved as soon as you make a selection – you do not need to click a “Save” button.
Removing a user from a user group
You may want to completely remove all permissions for a user to access data in any project that the group is assigned to. To remove those permissions, you must remove the user account from the user group.
Start by viewing the user group details.
To remove a user group member, click on the “X” button on the right-hand side of the table:

When you click the remove button, you will be asked to confirm the user group member removal:

To confirm, click the “OK” button.