
Sharing data in IRIDA
Once you’ve got data into IRIDA, either by web upload or from a sequencing facility with the IRIDA Uploader, you’re probably going to want to share that data with collaborators.
In order to share data from a project, you must have the Manager role on the project. The Manager role implies ownership of the data contained in the project. You can find out if you have the Manager role by looking at the project members section.
You can share data with collaborators in IRIDA in two ways: to an individual user account, or to a group of user accounts.
If the individual person you want to share with within IRIDA does not have a user account, you must also have permission to create a user account for that user. If you do not, then you’ll need to contact someone who has permissions to create user accounts.
Creating a User Account
If the person you would like to share data with within IRIDA does not have a user account, you’ll need to make an account for them.
You may create a new user account in IRIDA if you have the Manager or Administrator system role.
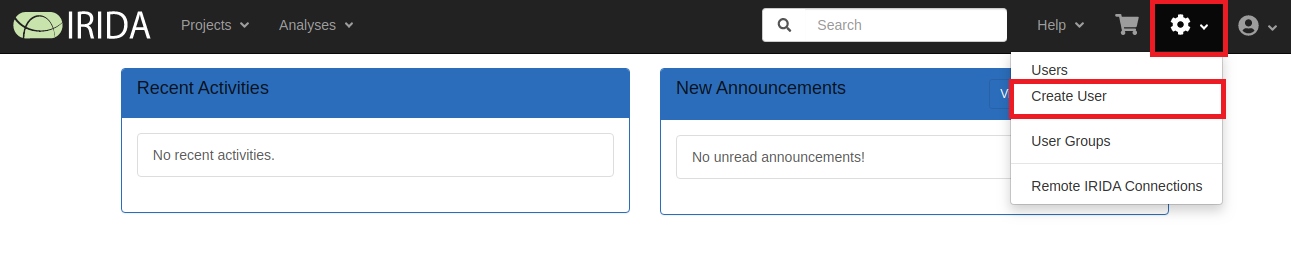
After logging in to IRIDA, click the gear icon on the top right-hand side of the navbar and click Create User:
Fill in the user details fields. All fields are required for a user account in IRIDA:
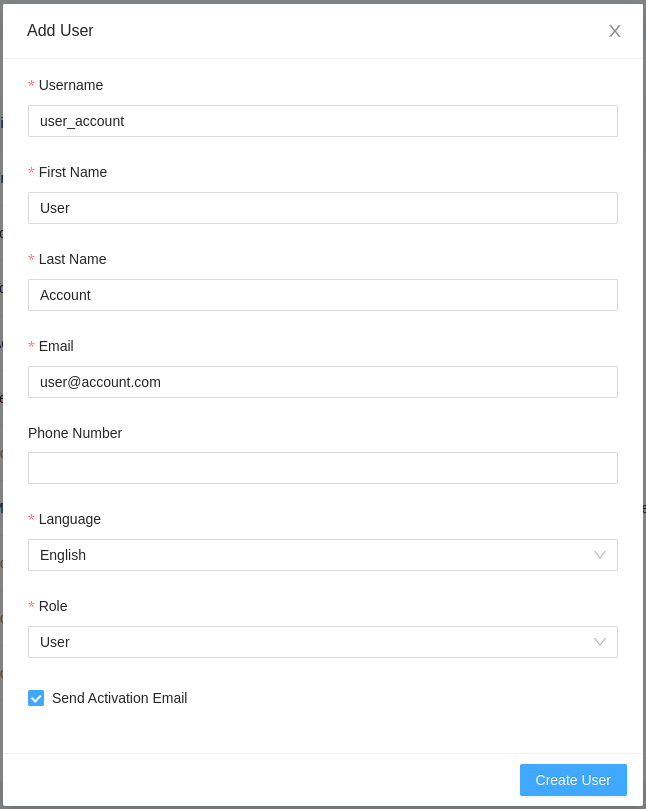
By default, a user will be issued a randomly-generated, one-time-use key to activate their account. The first time the user logs in, they will be required to change their password. You may manually enter a user password by unchecking “Send Activation Email”:
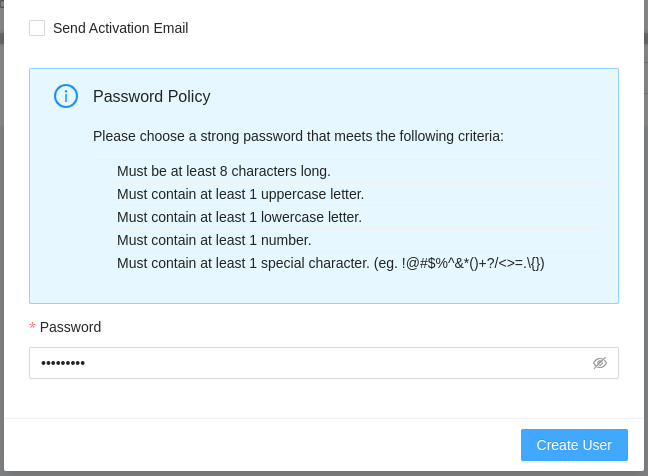
Passwords must meet the following requirements:
- Have at least 8 characters (Admin passwords should be at least 11 characters)
- Include at least 1 upper-case character
- Include at least 1 lower-case character
- Include at least 1 number
- Include at least 1 special character (ex:
!@#$%^&*()+?/<>=.\\{}) - Passwords should not form words
- Passwords should not include any personal information
- Passwords may not be reused
If you manually set a password for a new user account, the user will not be required to change their password on first log in.
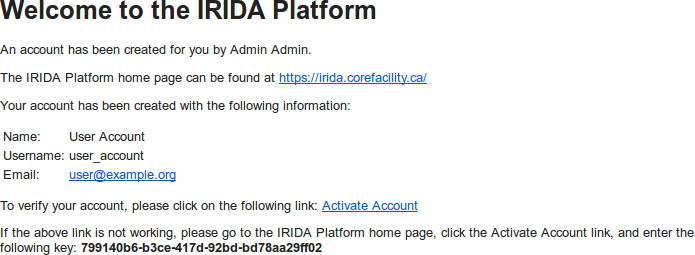
When you click “Create User”, an e-mail will be sent to the user (to the e-mail address you entered) including the URL for IRIDA (as configured in the Administrator Install Guide). If you did not manually set a password for the user, the e-mail will include a link to activate the user account:
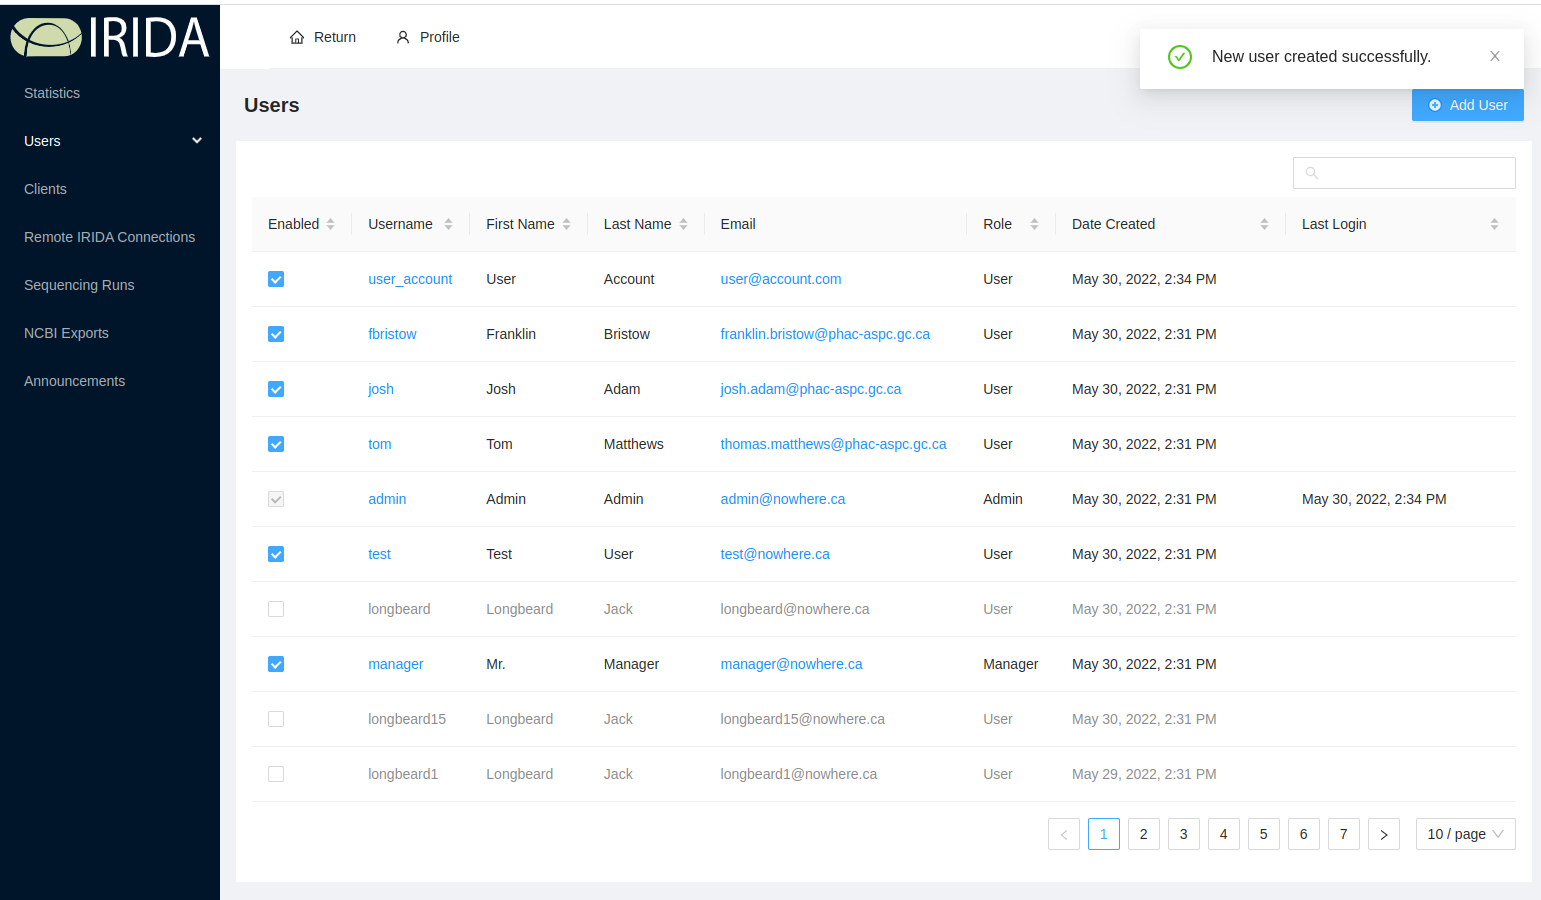
On successfully creating a new user account, you will be redirected back to the admin users table and see a successful notification pop-up:
Note: Only announcements created within the last month will be shown to new users.
Creating a User Group
You may share data with groups of users in IRIDA by creating a user group.
All users are permitted to create user groups in IRIDA.
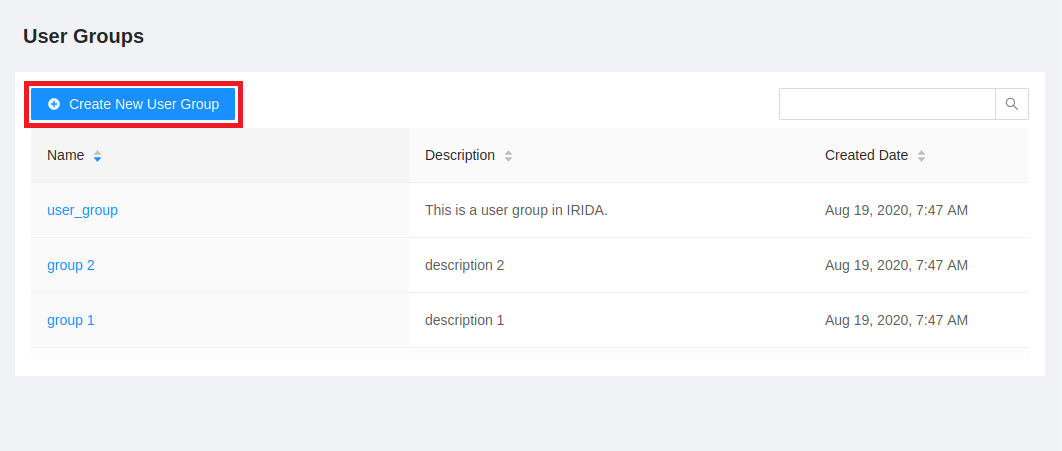
To create a user group, start from the user groups list page and click on the “Create New User Group” button:
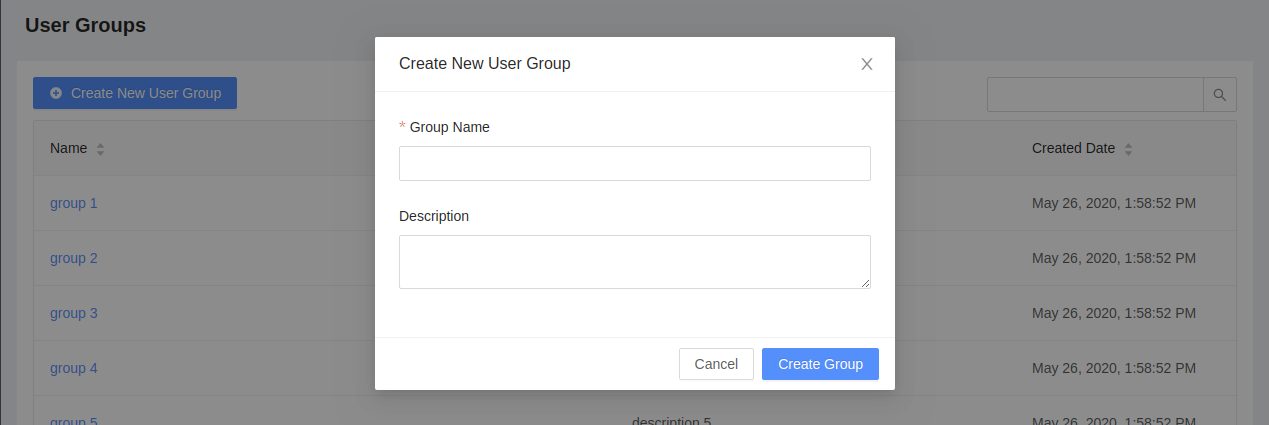
This will open a modal window which will allow you to fill in the group details fields. Only the group name is required, but you can optionally provide a more detailed description of what the user group is:
On successfully creating a new user group, you will see the user group details that you entered:
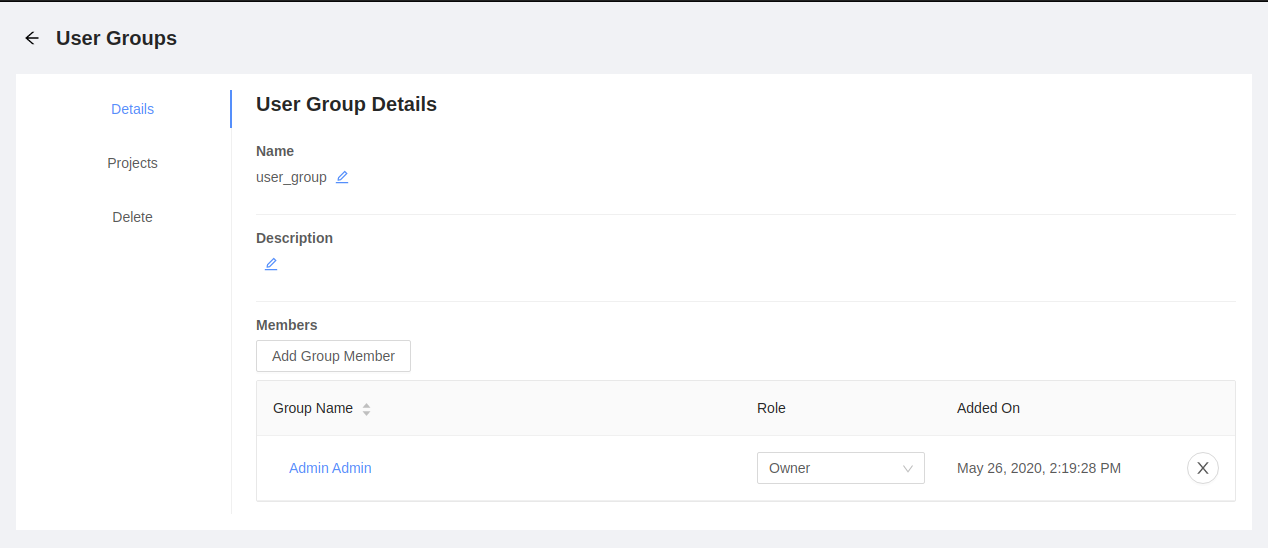
By default, your user account is assigned to the group as the group owner.
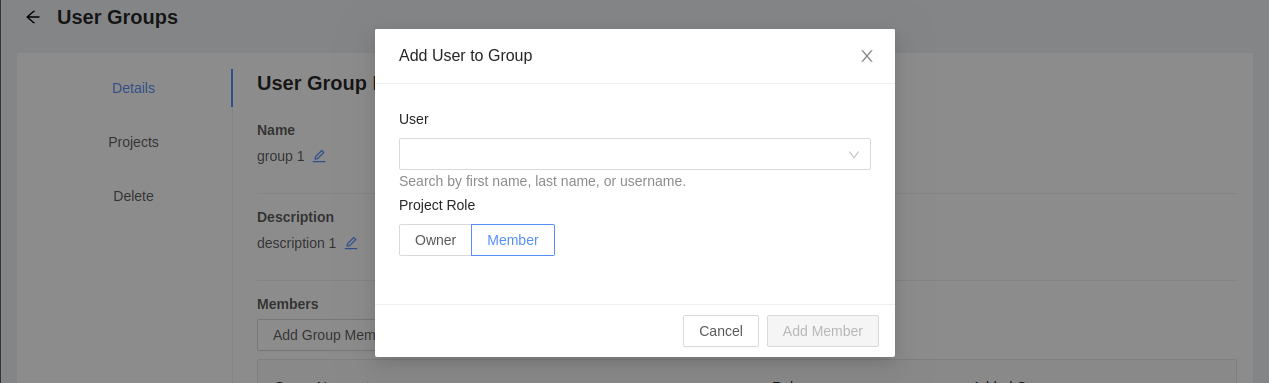
You can add other users to the group by clicking on the “Add Group Member” button:

In the dialog that appears, choose the user that you want to add and the group role that the user should have. Group owners are allowed to add new members to the group. Group members are not allowed to add new members to the group.
Adding a Project Member
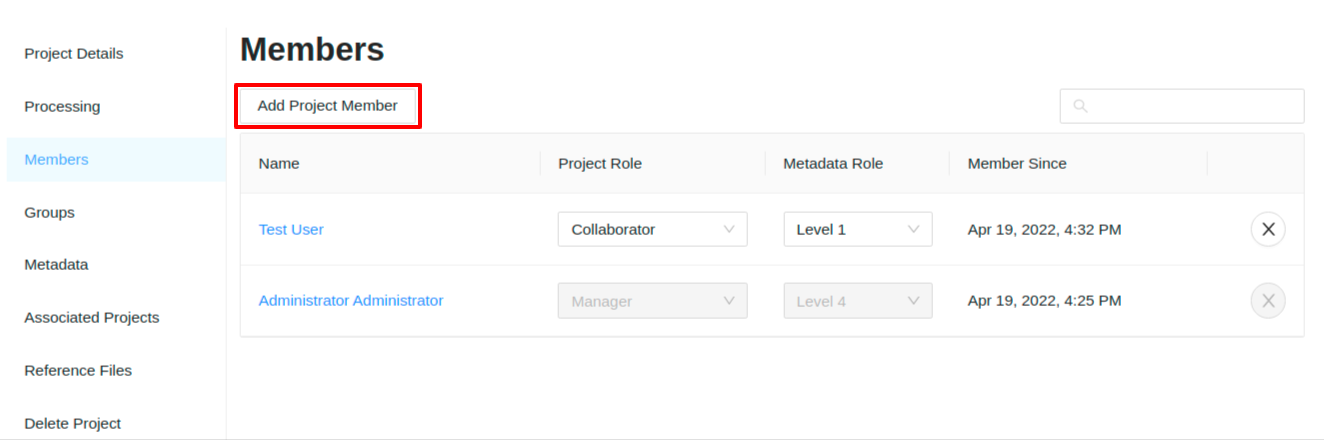
Once the user account or group is created, go to the project containing the data you want to share with this user, and select the Members tab.

Adding an Individual Member
To add an individual project member, click on the “Add Member” button:
You can use the dialog that appears to select a user account. You can also select the Project Role and Metadata Role that the new member should have. If the Project Role is set to Manager then the Metadata Role will default to the highest level (Level 4):
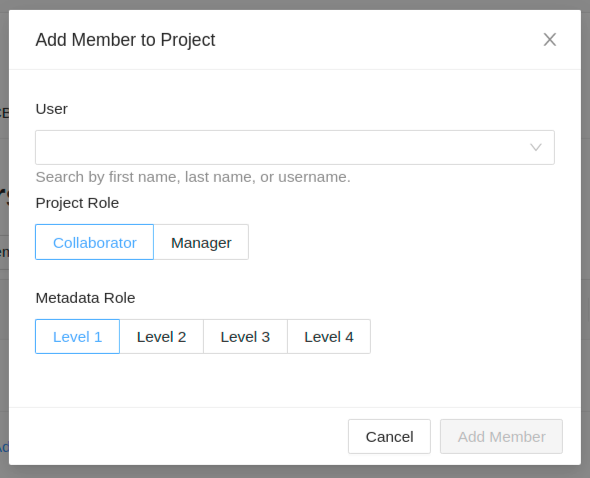
Remember: a project collaborator has read-only permissions, and a project manager is allowed to modify project details.
Once you’ve selected the user and role to add to the project, click on the “OK” button.
Adding a Group Member
To add a group to the project, click on the “Groups” button on the left-side of the page, then click on “Add Group”:
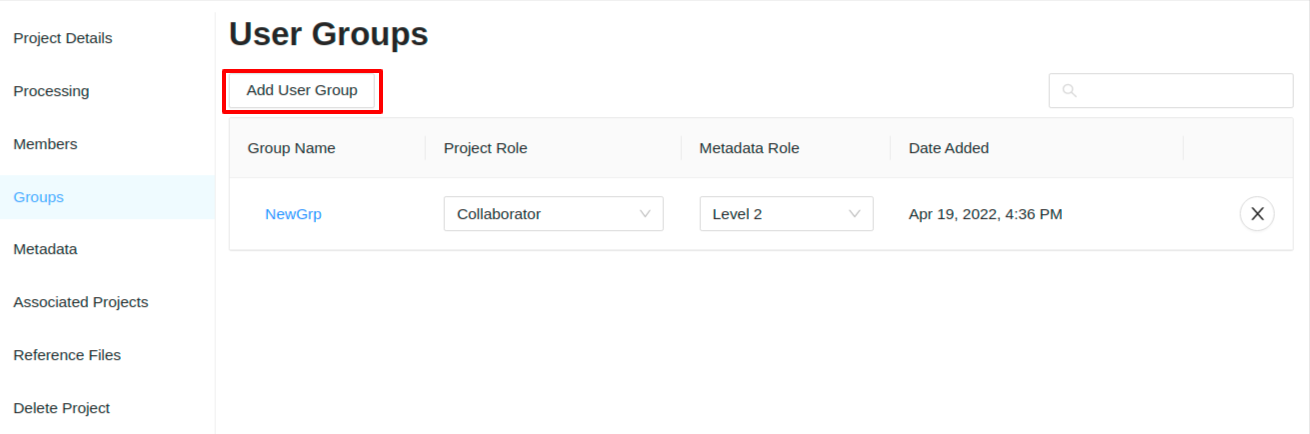
You can use the dialog that appears to select a user group. You can also select the Project Role and Metadata Role that the user group should have. If the Project Role is set to Manager then the Metadata Role will default to the highest level (Level 4):
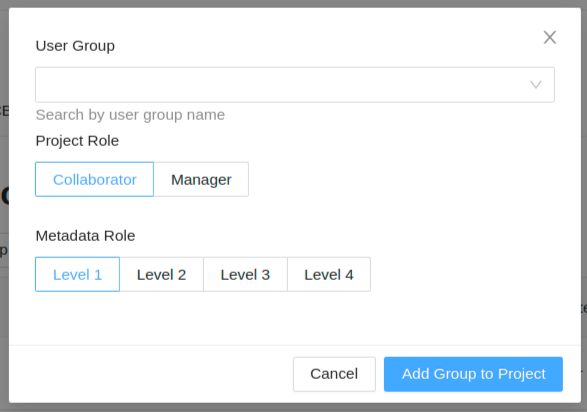
Remember: a project collaborator has read-only permissions, and a project manager is allowed to modify project details. When adding a user group, all members of the user group will have that project role and metadata role on this project. If the Project Role is set to Manager then the Metadata Role will default to the highest level (Level 4).
Note: If a user is added both as an individual member and as part of a group, the higher project role takes precedence. For example, if Bob is added to Project 5 as a Project User as an individual member, and is in a Group that’s on Project 5 as a Project Owner, Bob would be given Project Owner permissions to Project 5.
Once you’ve selected the user group, project role, and metadata role to add to the project, click on the “OK” button.
Downloading Sample Data
All project members are allowed to export the samples in a project to the command line (add a link to the command line tutorial), to Galaxy (add a link to the Galaxy tutorial) or to download sample data. External collaborators will most likely want to download sample data to their own computer so that they can manage the data locally. External collaborators can use IRIDA to download multiple samples in a zip package or they can download individual files by examining each sample.
Downloading Multiple Samples
You may download all of the files in a sample, or even download the files from multiple samples, by selecting the samples that you want to download, clicking on the “Export” button just above the samples list and clicking on “Download”:

IRIDA will provide you with a zip file containing the sequencing data for all of the selected samples. You can extract the files from the zip archive using the command-line program unzip, using the built-in Windows extractor tool, or using a program like 7-zip
WARNING: sequencing data can make for a very large download, especially when downloading all of the sequencing data for a project. We strongly recommend that you do not download data to your PC, especially if you are going to be using Linux command-line tools and the command-line export tool option is available.
Downloading Individual Files
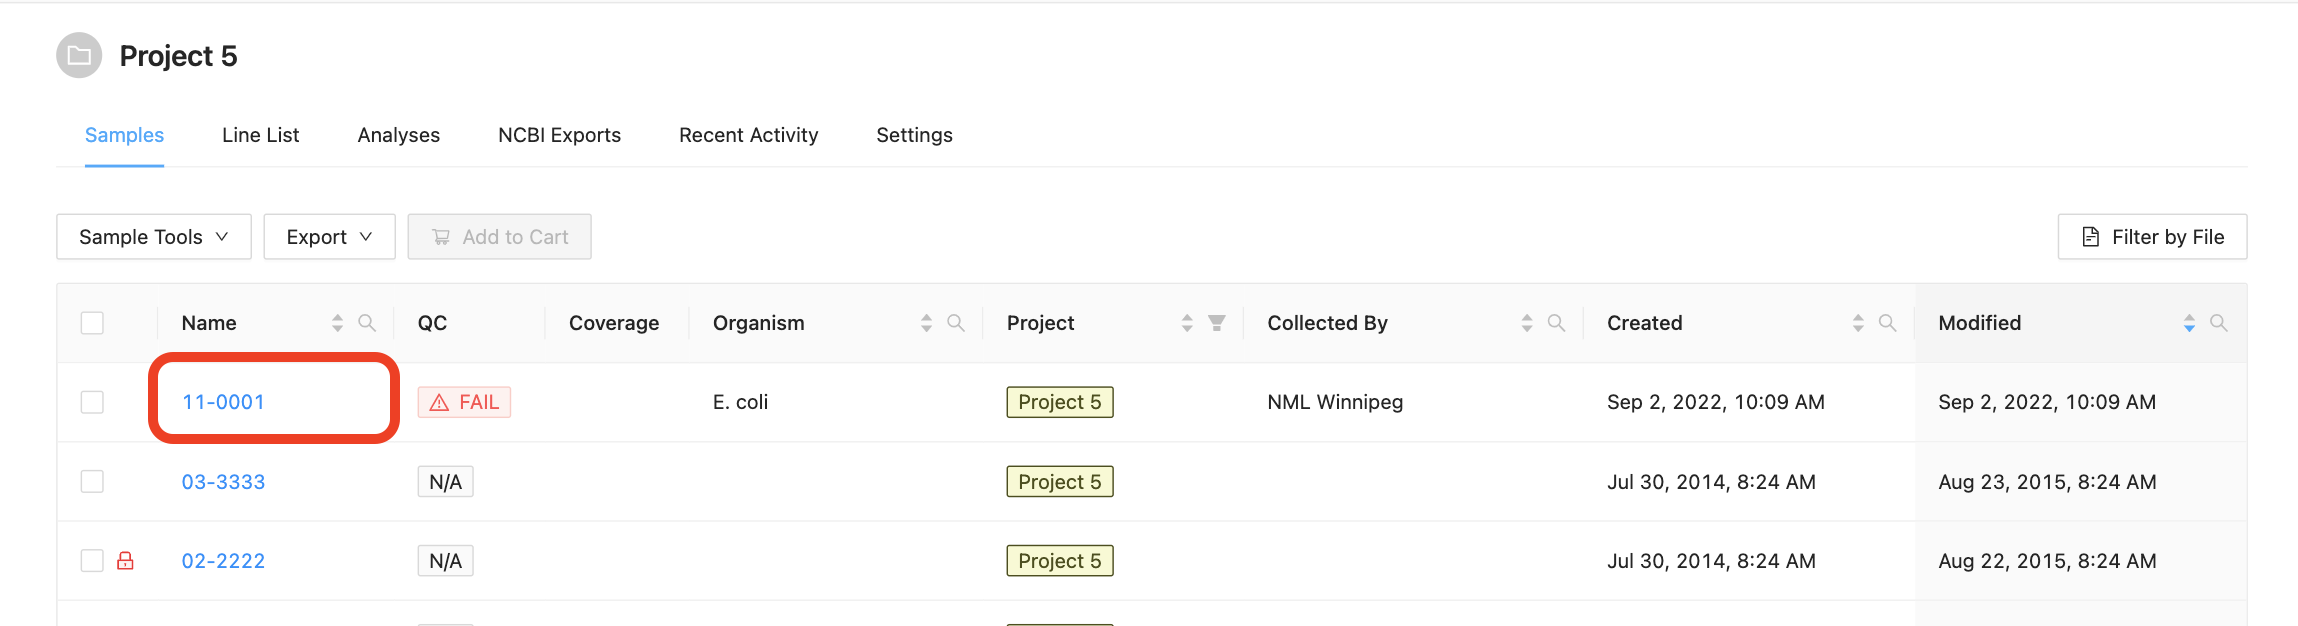
To view details about an individual sample, start by viewing the samples in a project, then click on the sample name in the samples table:
The sample details viewer shows all of the details that are currently known about a sample:
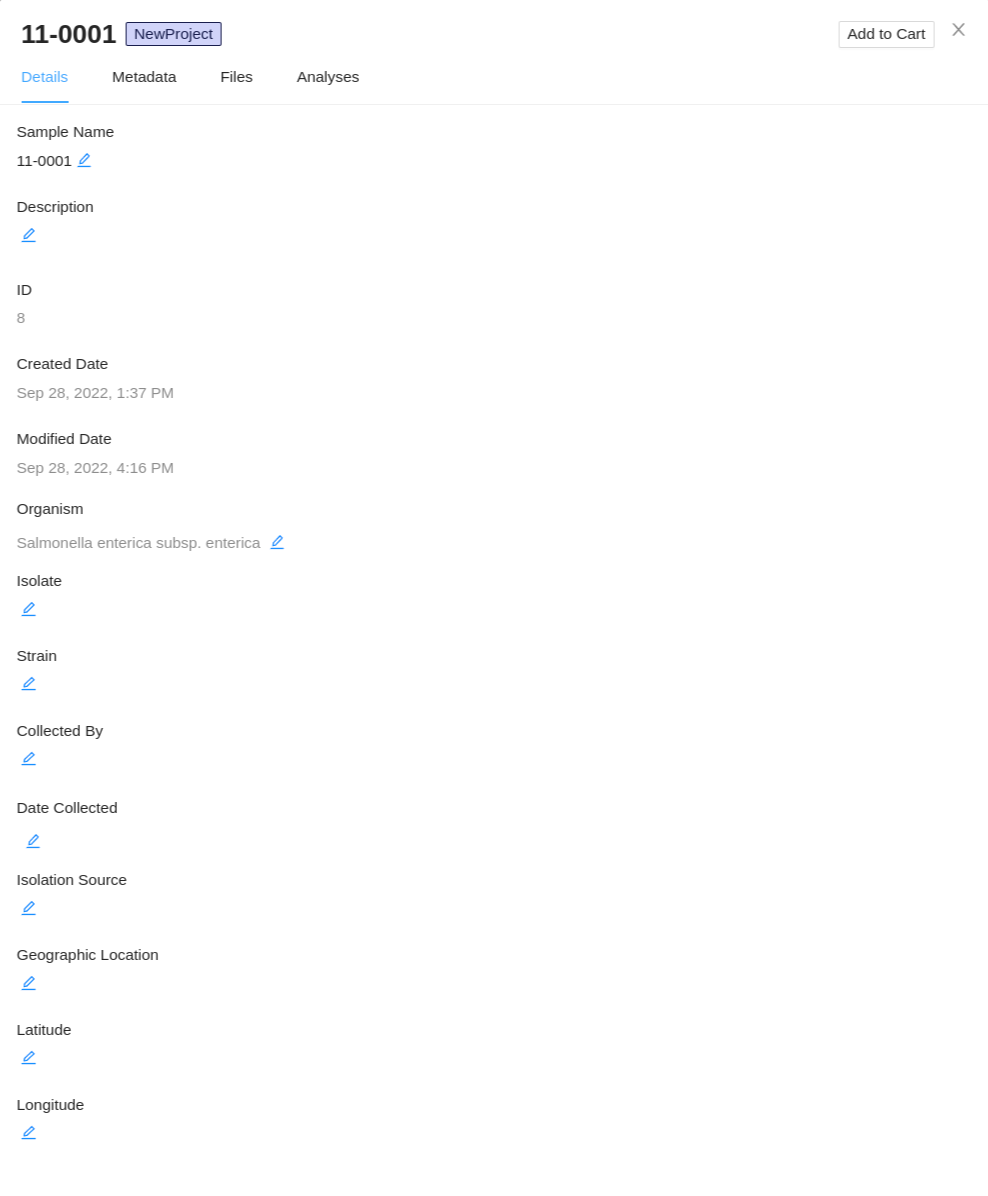
Start by viewing the details of an individual sample. On the sample details page, click on the “Files” tab, just above the sample details panel:

Sequence files may have been uploaded as paired-end files or as single-end files, depending on how the isolate was sequenced.
Single-end files will appear in the sample alone:

Paired-end files will appear in a pair:
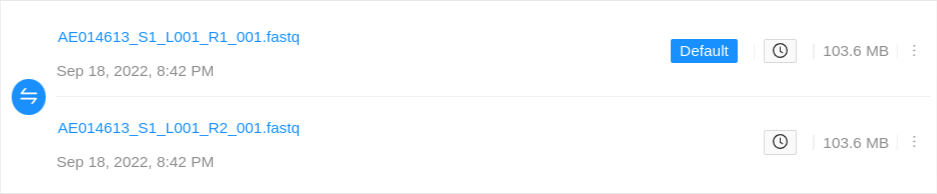
Quality control information for a sequence file may appear below the file:

You can download a sequence file by clicking on the Download button, on the right-hand side of the row for the sequence file.